What Is Bokeh?
Bokeh is a technique valued by photographers. The term is derived from the Japanese word boke, meaning blur. It refers to the quality of the background blur of an image, not the blur itself.
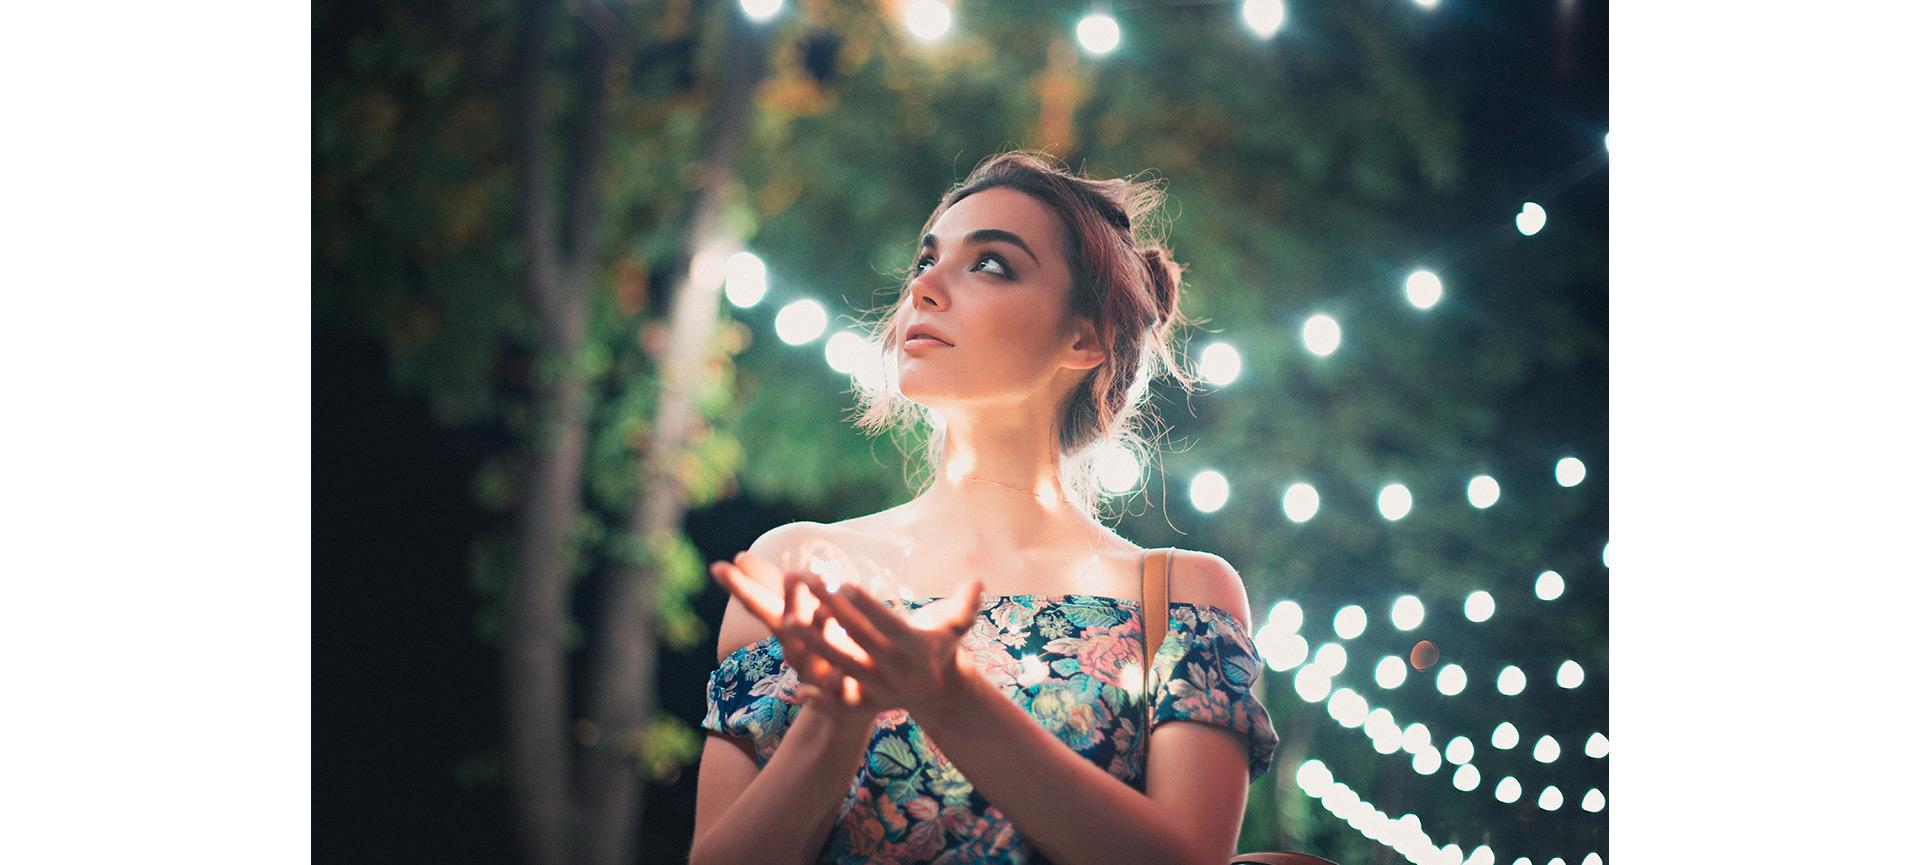
“Bokeh is how the lens renders out-of-focus spots of light,” says Irene Rudnyk, a portraiture photographer, educator and content creator based in Calgary.
Rudnyk loves to create blurry backgrounds with her portraits. “It’s a little closer to what the eye actually sees,” she says. “Our eyes cannot focus on multiple areas at the same time.” With a portrait, if you’re looking at the person, the background will naturally be out of focus. “That’s what I try to re-create with my images. I’m trying to make the background a little blurry so all of the attention goes on the subject. The bokeh makes the background more interesting and complements the subject.”
The Science Behind Bokeh
The first step to achieving beautiful bokeh is choosing the right settings. Aperture, focal length and shutter speed – as well as lens choice – all contribute to creating blurry areas that look soft and smoothly merge into one another.
Aperture and Depth of Field
Start by setting your aperture to the lowest f-number the lens will go. The wider the aperture, the more shallow the depth of field, the more separation between subject and background. Using a larger aperture (f/1.2, f/1.4, f/2) creates more intense bokeh and really spotlights a subject in a beautiful way.
Shooting wide open also eliminates decisions about shutter speed. With the lens letting in so much light, the shutter speed will automatically be high. “My only tip with shutter speed, especially for portraits, is to never go below 1/250,” says Rudnyk. “If you go lower than that, you risk getting blurry images.”
Lens and Focal Length
Two more things to consider are lens choice and focal length. Prime lenses create more of a creamy, blurry background – meaning, more bokeh. “What actually affects the look of the bokeh is the diameter of the lens itself,” says Rudnyk. “The bigger the diameter of the lens, the bigger the bokeh is going to look. The smaller the lens – the diameter specifically – then the bokeh is going to be smaller. Most zoom lenses have a smaller diameter, so the bokeh balls are going to be a lot smaller and more scattered. The big diameter lenses will produce bigger bokeh balls, which are more pleasing to the eye, in my opinion.”
Rudnyk also recommends looking at vintage lenses. “Most modern lenses got rid of the imperfections, but the imperfections are what render light in interesting ways,” she says. Modern lenses tend to make bokeh completely round. Vintage lenses may skew the bokeh in different ways, making it more oval or bending it at the edges. “Technically, it’s incorrect, but I personally think it has a lot of character and can be very beautiful and interesting to look at. With adapters, you can put then on your mirrorless cameras and create some really cool stuff.”
As for focal length, Rudnyk suggests sticking with the basic 35mm, 50mm and 85mm type range. “This is purely personal,” she says. “I don’t like to go more than 85mm, just for the look. But lenses that are longer – 100mm, 135mm – will give you even better bokeh. The longer the lens, the better the bokeh is going to be.”
Best Canon Lenses for Bokeh
To achieve beautiful bokeh, you need to use longer and faster lenses. Investing in a lens that allows you to set a wide aperture – at least f/2 or lower – instead of relying solely on a kit lens will help you get dreamier and bolder bokeh. “My personal favourites are the f/1.2 lenses, specifically the RF85mm F1.2L USM,” says Rudnyk. “The RF135mm F1.8L IS USM is also a really nice lens.”
While Rudnyk favours prime lenses, she doesn’t rule out zooms. “My favourite is the RF28-70 F2 L USM,” she says. “That lens is crazy, and it creates beautiful bokeh. It has a very big diameter of the lens. And, of course, it goes to f/2, which gives you a really nice blurry background.”
And don’t underestimate the nifty fifty. “If you’re on a budget, the RF50mm 1.8 STM is an amazing lens if you’re just starting out,” she says. “It’s a beautiful prime lens, and it will give you nice results.”
Techniques for Achieving Beautiful Bokeh
Four things influence the bokeh effect. Two have been covered above: a larger aperture (a smaller f-stop) and a longer focal length. The distance between the subject and the background, as well as the distance between the subject and the photographer, play equally important roles.
Subject Distance and Background Choice
In general, you want as much distance as possible between the subject and the background. As the photographer, you also want to stand as close as possible to your subject. With an advanced prime lens – one that goes to f/1.2 or f1/4 – you have space to work with; with a beginner lens – a nifty fifty – the distance between photographer and subject makes a big difference. If you’re using a zoom lens, zoom in as much as possible, then use your legs to distance yourself from your subject.
As for background, you need something that will be interesting even when it’s blurred. Rudnyk loves trees, especially ones with low branches. And she always has them backlit. “If you look at 90 percent of my images, this is what you’ll see,” she says. “You’ll see that in the background there’s some trees and there’s sunlight behind them, and this is what creates beautiful bokeh.”
She also loves shooting with water, especially at golden hour. “If the water is moving and the sun is low, the way the sun reflects off of the water will create beautiful little ripples of light, and it will then create bokeh if you're shooting really out of focus,” she says. “At the same time, the water acts as a natural reflector, so it will be reflecting some light back onto the model, and it's going to look really nice.”
Lighting Considerations
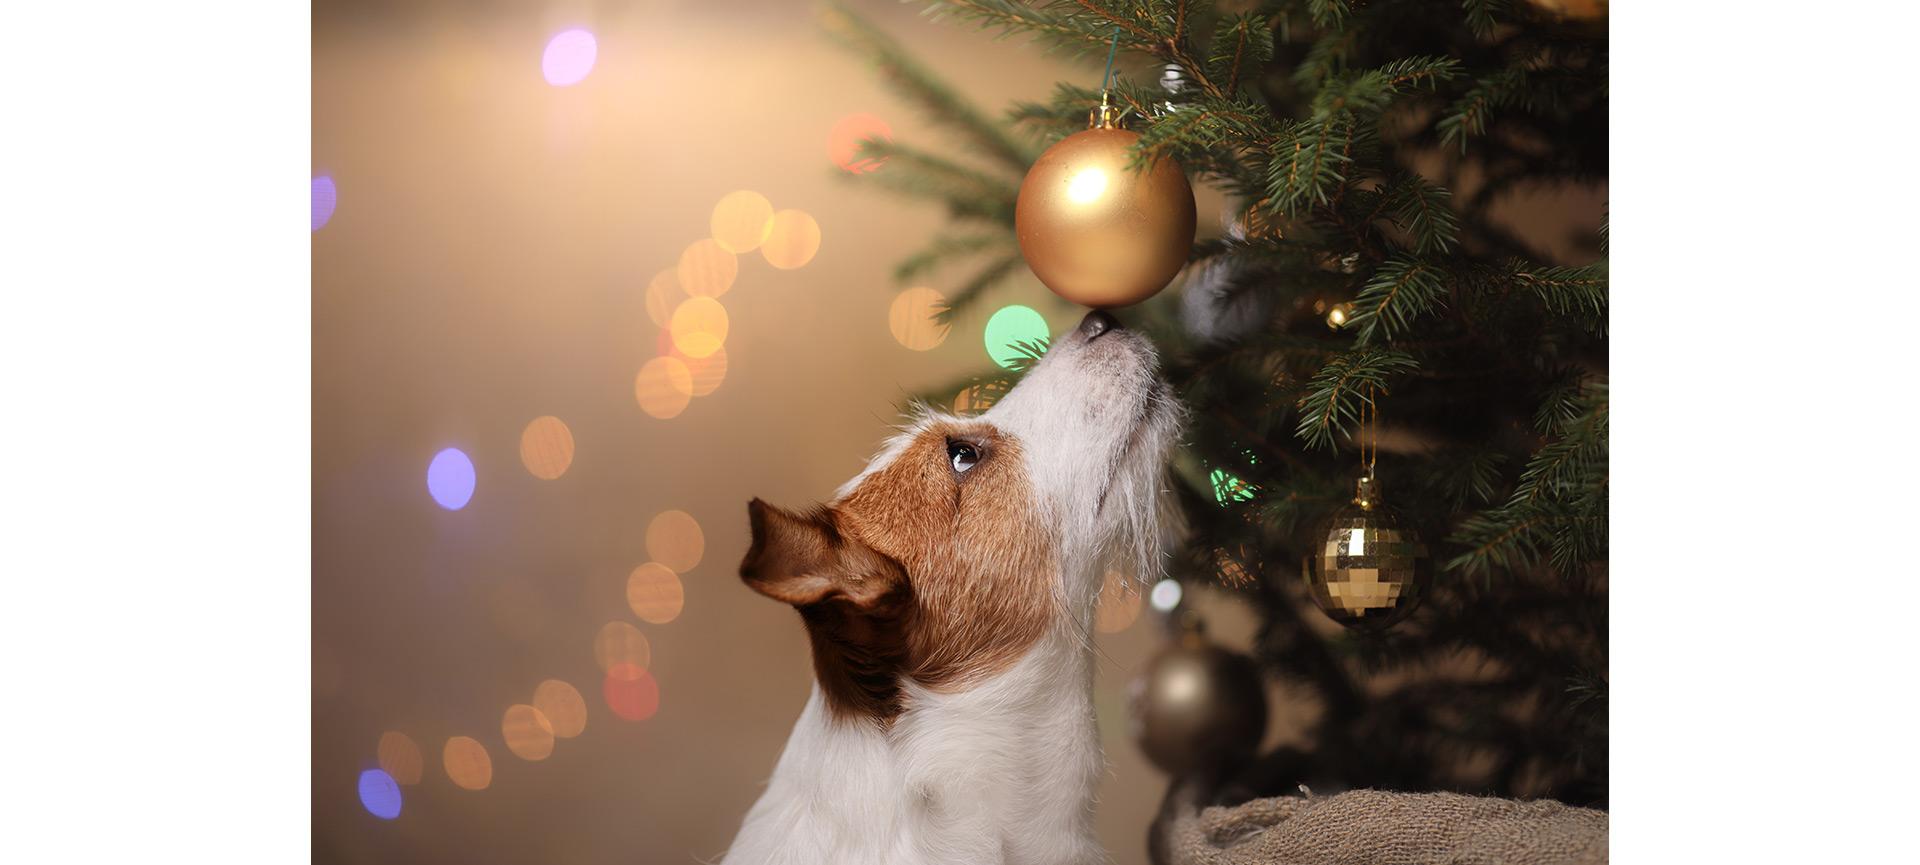
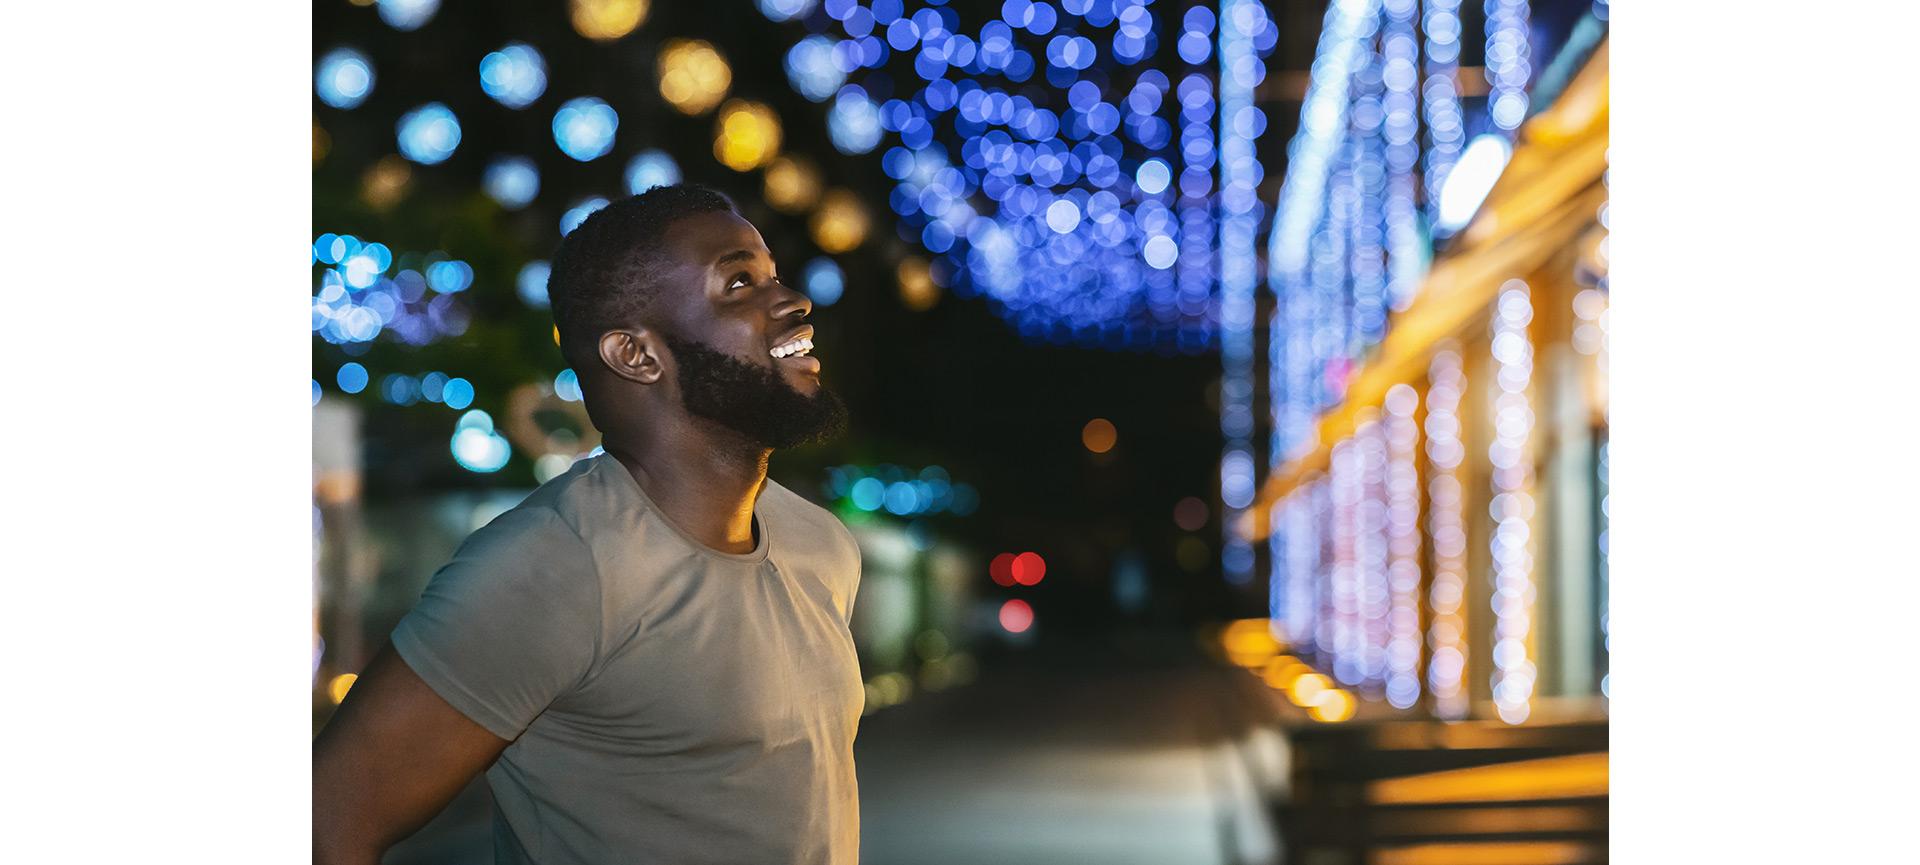
Natural lighting offers greater variation for you to play with – think light coming through tree leaves or reflecting off a glass building. In the studio, you’ll need to bring additional lighting. Christmas lights is a popular option. Shot out of focus, they become little bokeh balls.
Shooting at night can be a challenging, but streetlights and neon signs offer unique points of light. “You can create bokeh with any light source,” says Rudnyk. “And the smaller it is, the better. If it’s surrounded by darker areas, you’ll really see spots of light.”
Creative Uses of Bokeh in Photography
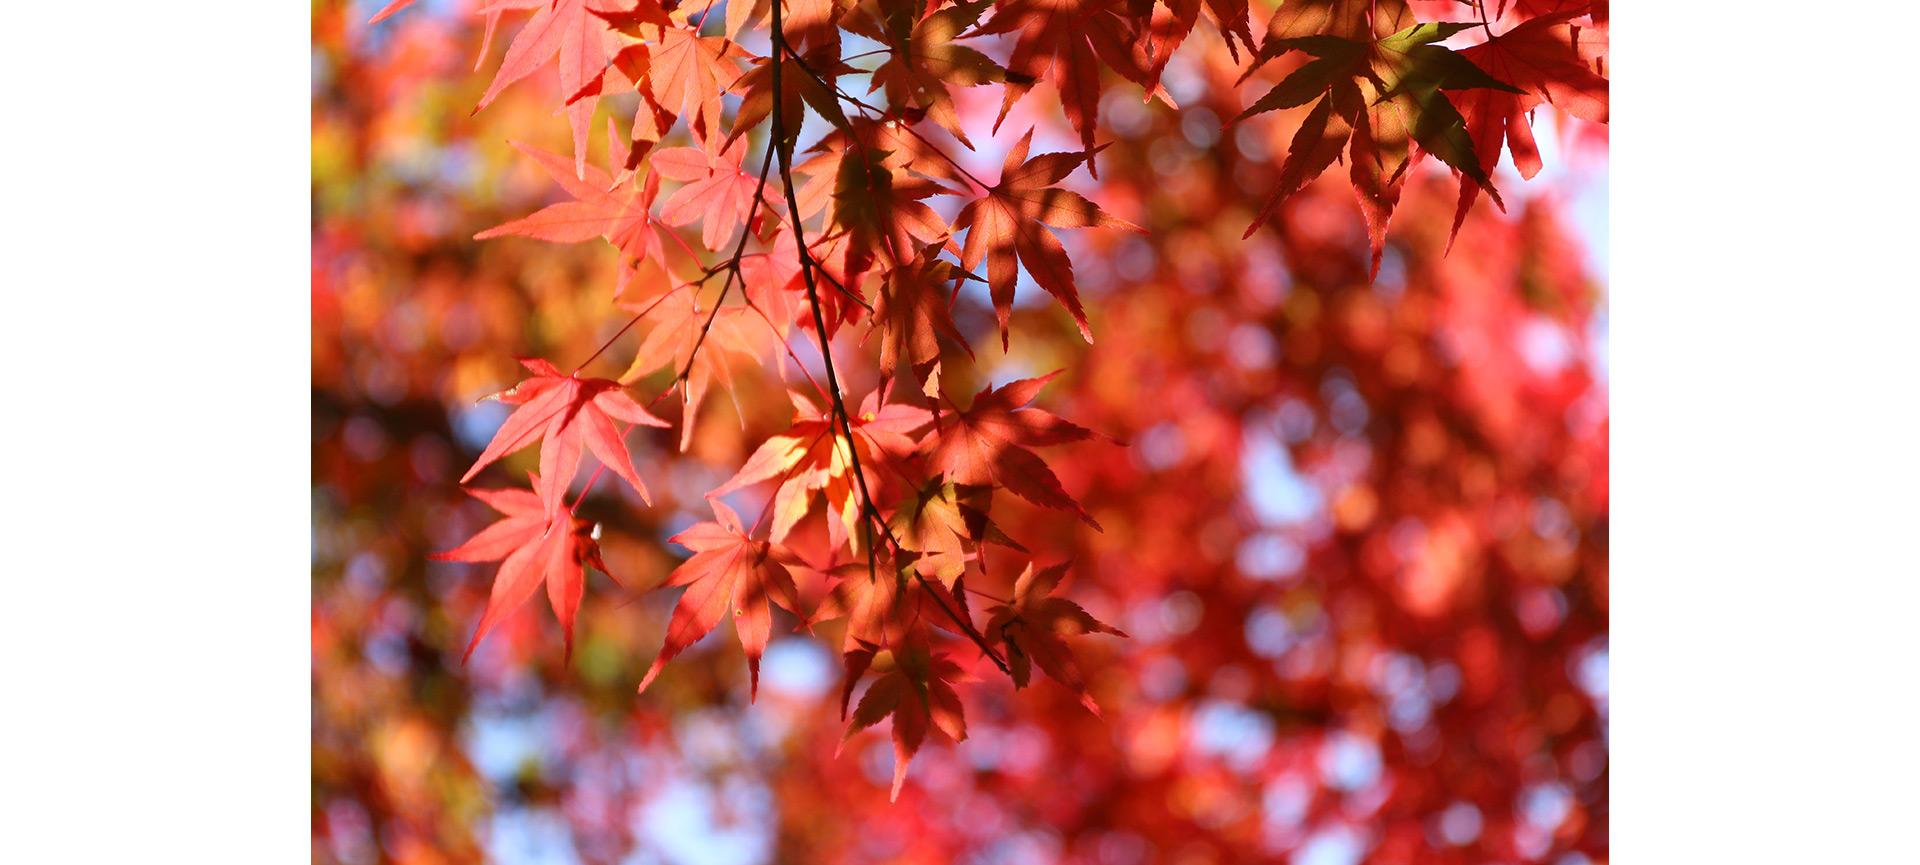
Bokeh works well with any type of photography. Portrait and macro are two of the most common, but it’s a beautiful aesthetic for landscape, wildlife and street photography – just to name a few. Blurring the background will bring attention to any subject.
Portraits with Bokeh
With portrait photography, lighting is key. “Photography is painting with light,” says Rudnyk. “I love golden hour. The light is very soft, and it doesn’t give any unflattering shadows on the face.” Position your subject as far as possible from the background, then look for those little pockets of light.
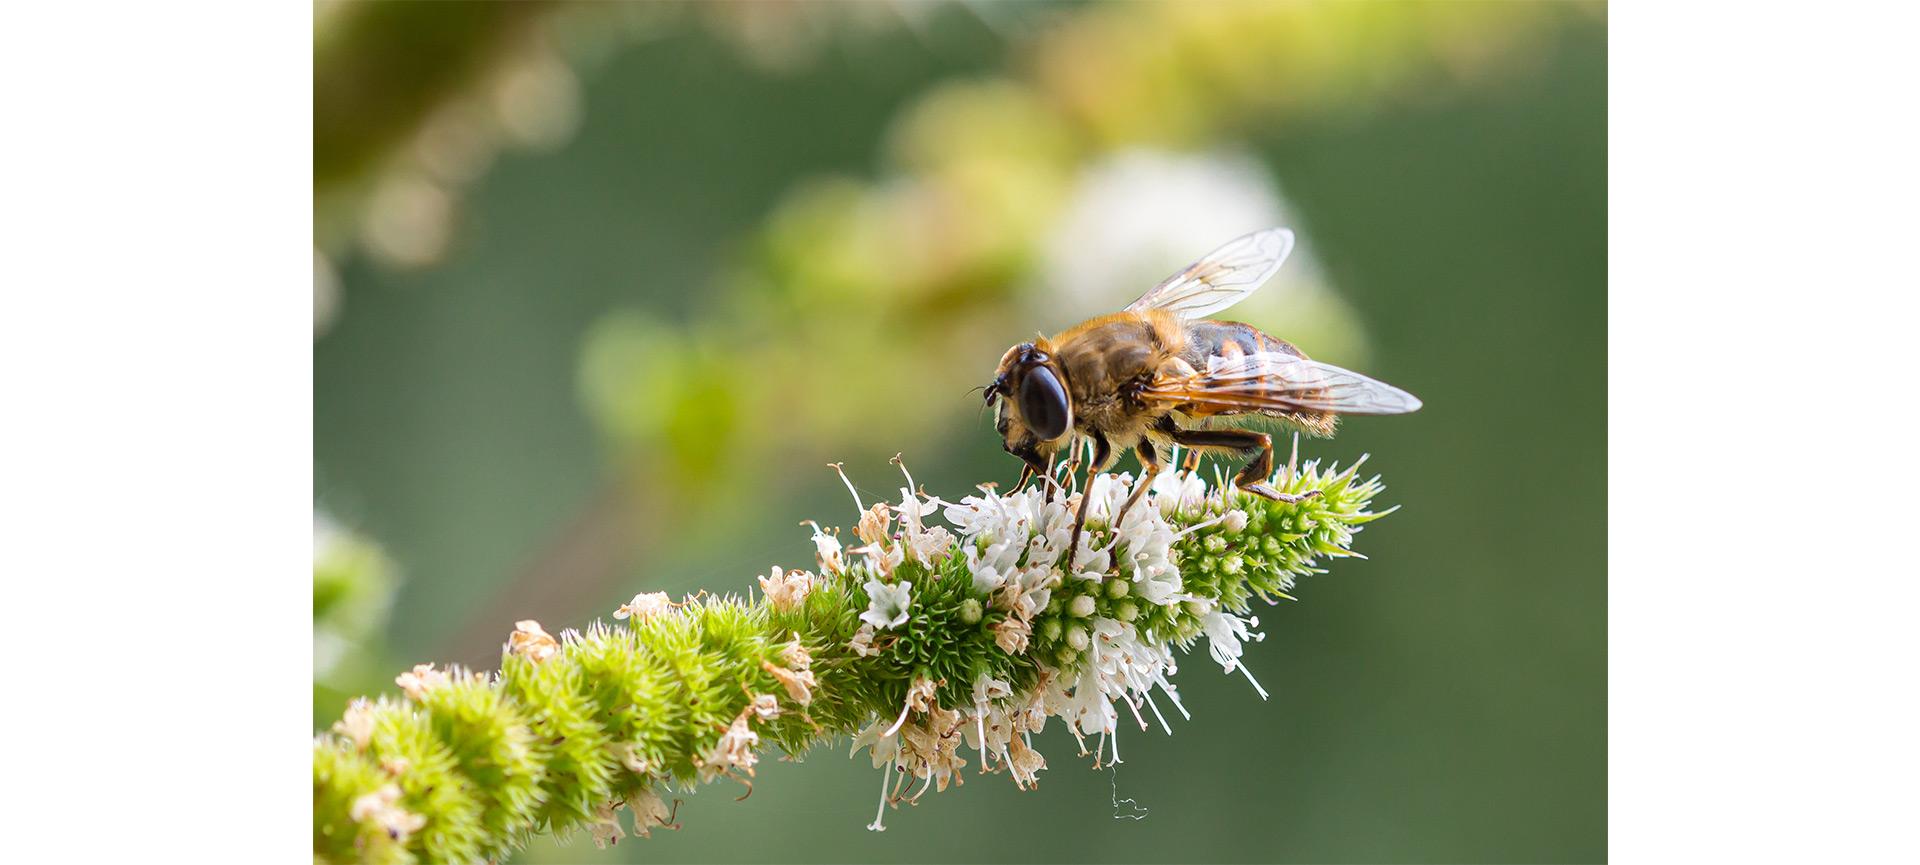
Macro Photography and Bokeh
With macro photography, since you’re naturally positioning yourself close to your subject, the bokeh will likely look really big. “The depth of field is so shallow that you’re going to be creating blurry backgrounds no matter what,” says Rudnyk. If you’re taking a picture of an ant, for example, you may be able to focus only on the head, leaving the body out of focus. Many people will then stack their photos – that is, take multiple images and focus on different parts get the whole subject in focus.
Commons Mistakes and How to Avoid Them
It may take a little trial and error to achieve beautiful bokeh. There’s a lot of elements involved, and it can be easy to overlook one as you focus on another.
If you’re not happy with your images, ask yourself the following:
- Am I using the correct lenses? It’s easier to achieve the desired look with a prime lens than with a zoom kit lens. Consider investing in a lens that goes to at least f/1.8.
- Am I using a wide enough aperture? Beginners often rely on fully automatic settings. “When I first picked up a camera, I was like, ‘I don’t know what the f means,” says Rudnyk, laughing. “But if you’re letting the camera choose the setting, a lot of times it will not put the f-stop at the lowest number.” Shoot manual with the lowest number your lens will let you for the aperture.
- Have I positioned my subject and background far enough apart? “People may not think about it if they don’t understand what depth of field is and how to create the blurry background,” says Rudnyk. “It’s not complicated: the farther you put your subject from the background, the blurrier the background is going to be.”
Enhancing Your Photography with Bokeh
Bokeh creates a dreamy effect, making images look almost a little unreal. What makes good bokeh is subjective, says Rudnyk. Some people prefer it to be very round, uniform and everywhere in an image, while others prefer it really small. Use it in a way that best helps you tell the story you want to tell.
“It really fits within my photography because I always love to create the images that I see in my mind, and I like to re-create them in real life,” says Rudnyk. “Bokeh just gives that magical element to the images.”