Six Ways to Improve Winter Photography
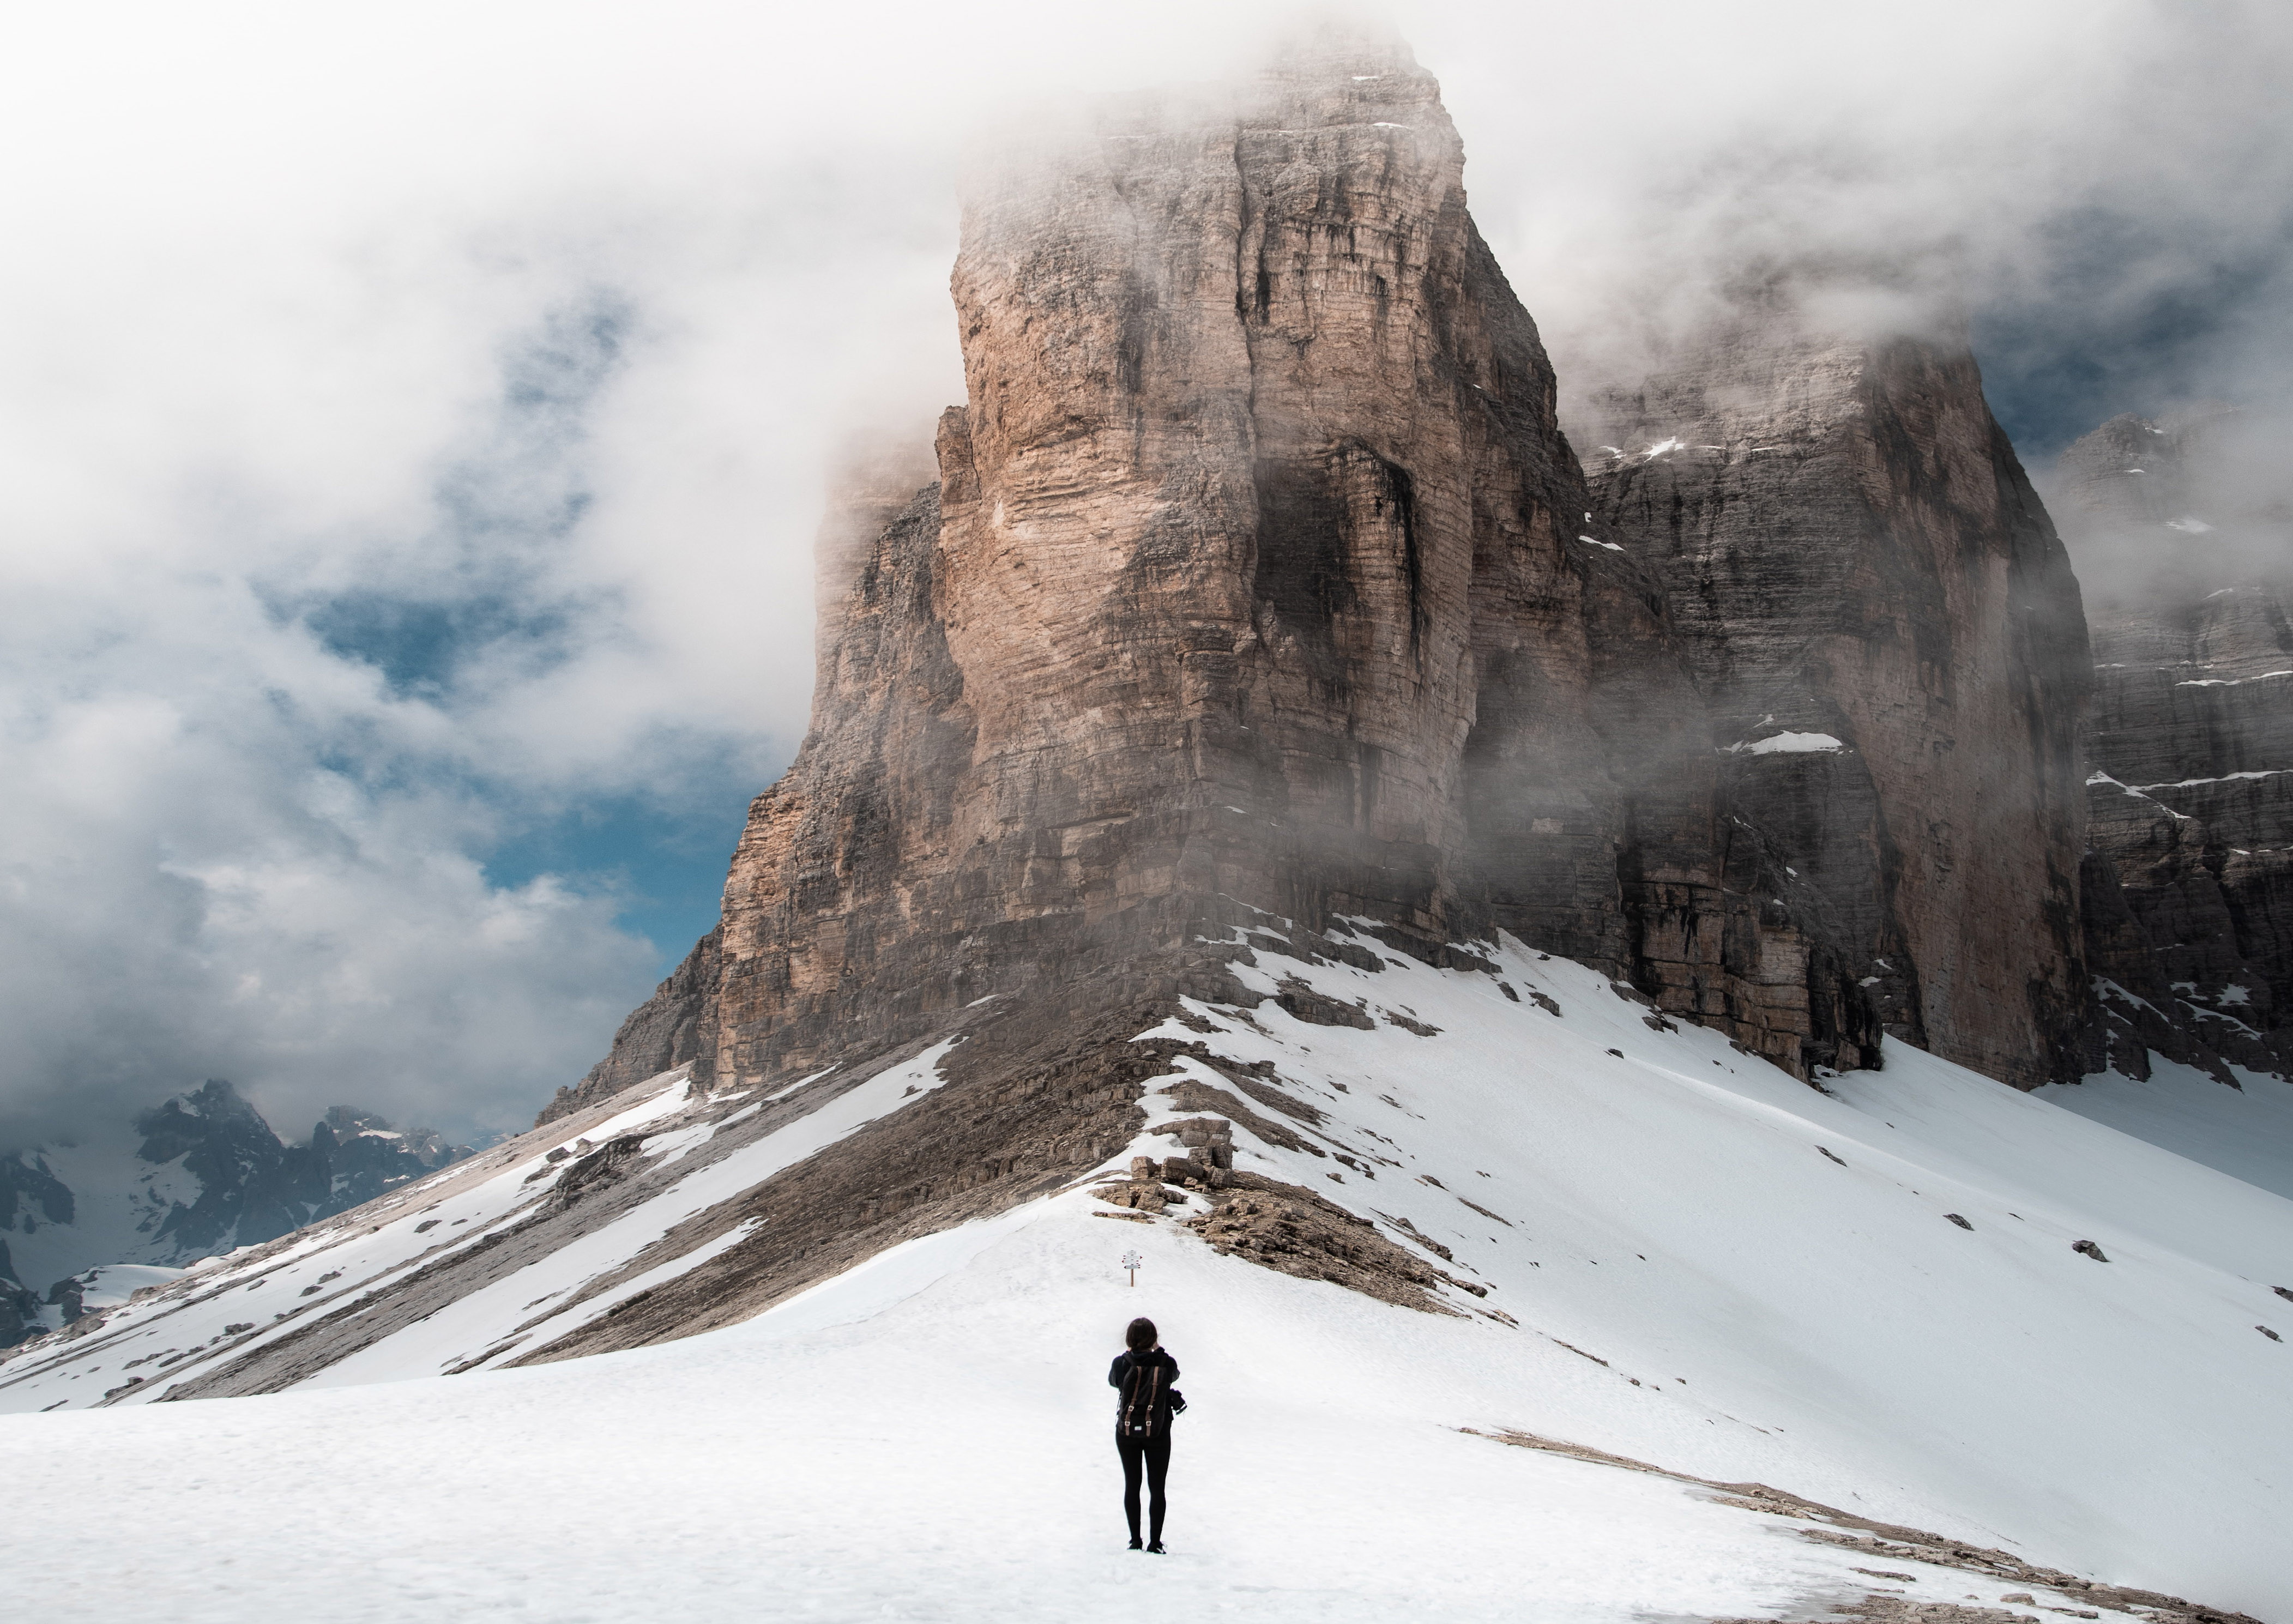
When the snow falls, the whole landscape is magically transformed — icicles glisten on barren tree limbs, snow-covered yards sparkle under the low winter sun, and colourful holiday decorations shine brighter. Despite the chill in the air, athletes, families and photographers take to the great outdoors to experience winter. Grab your camera and your warmest winter wear and use the following suggestions to capture cool scenes and heartwarming memories.
1. Capture the snowfall
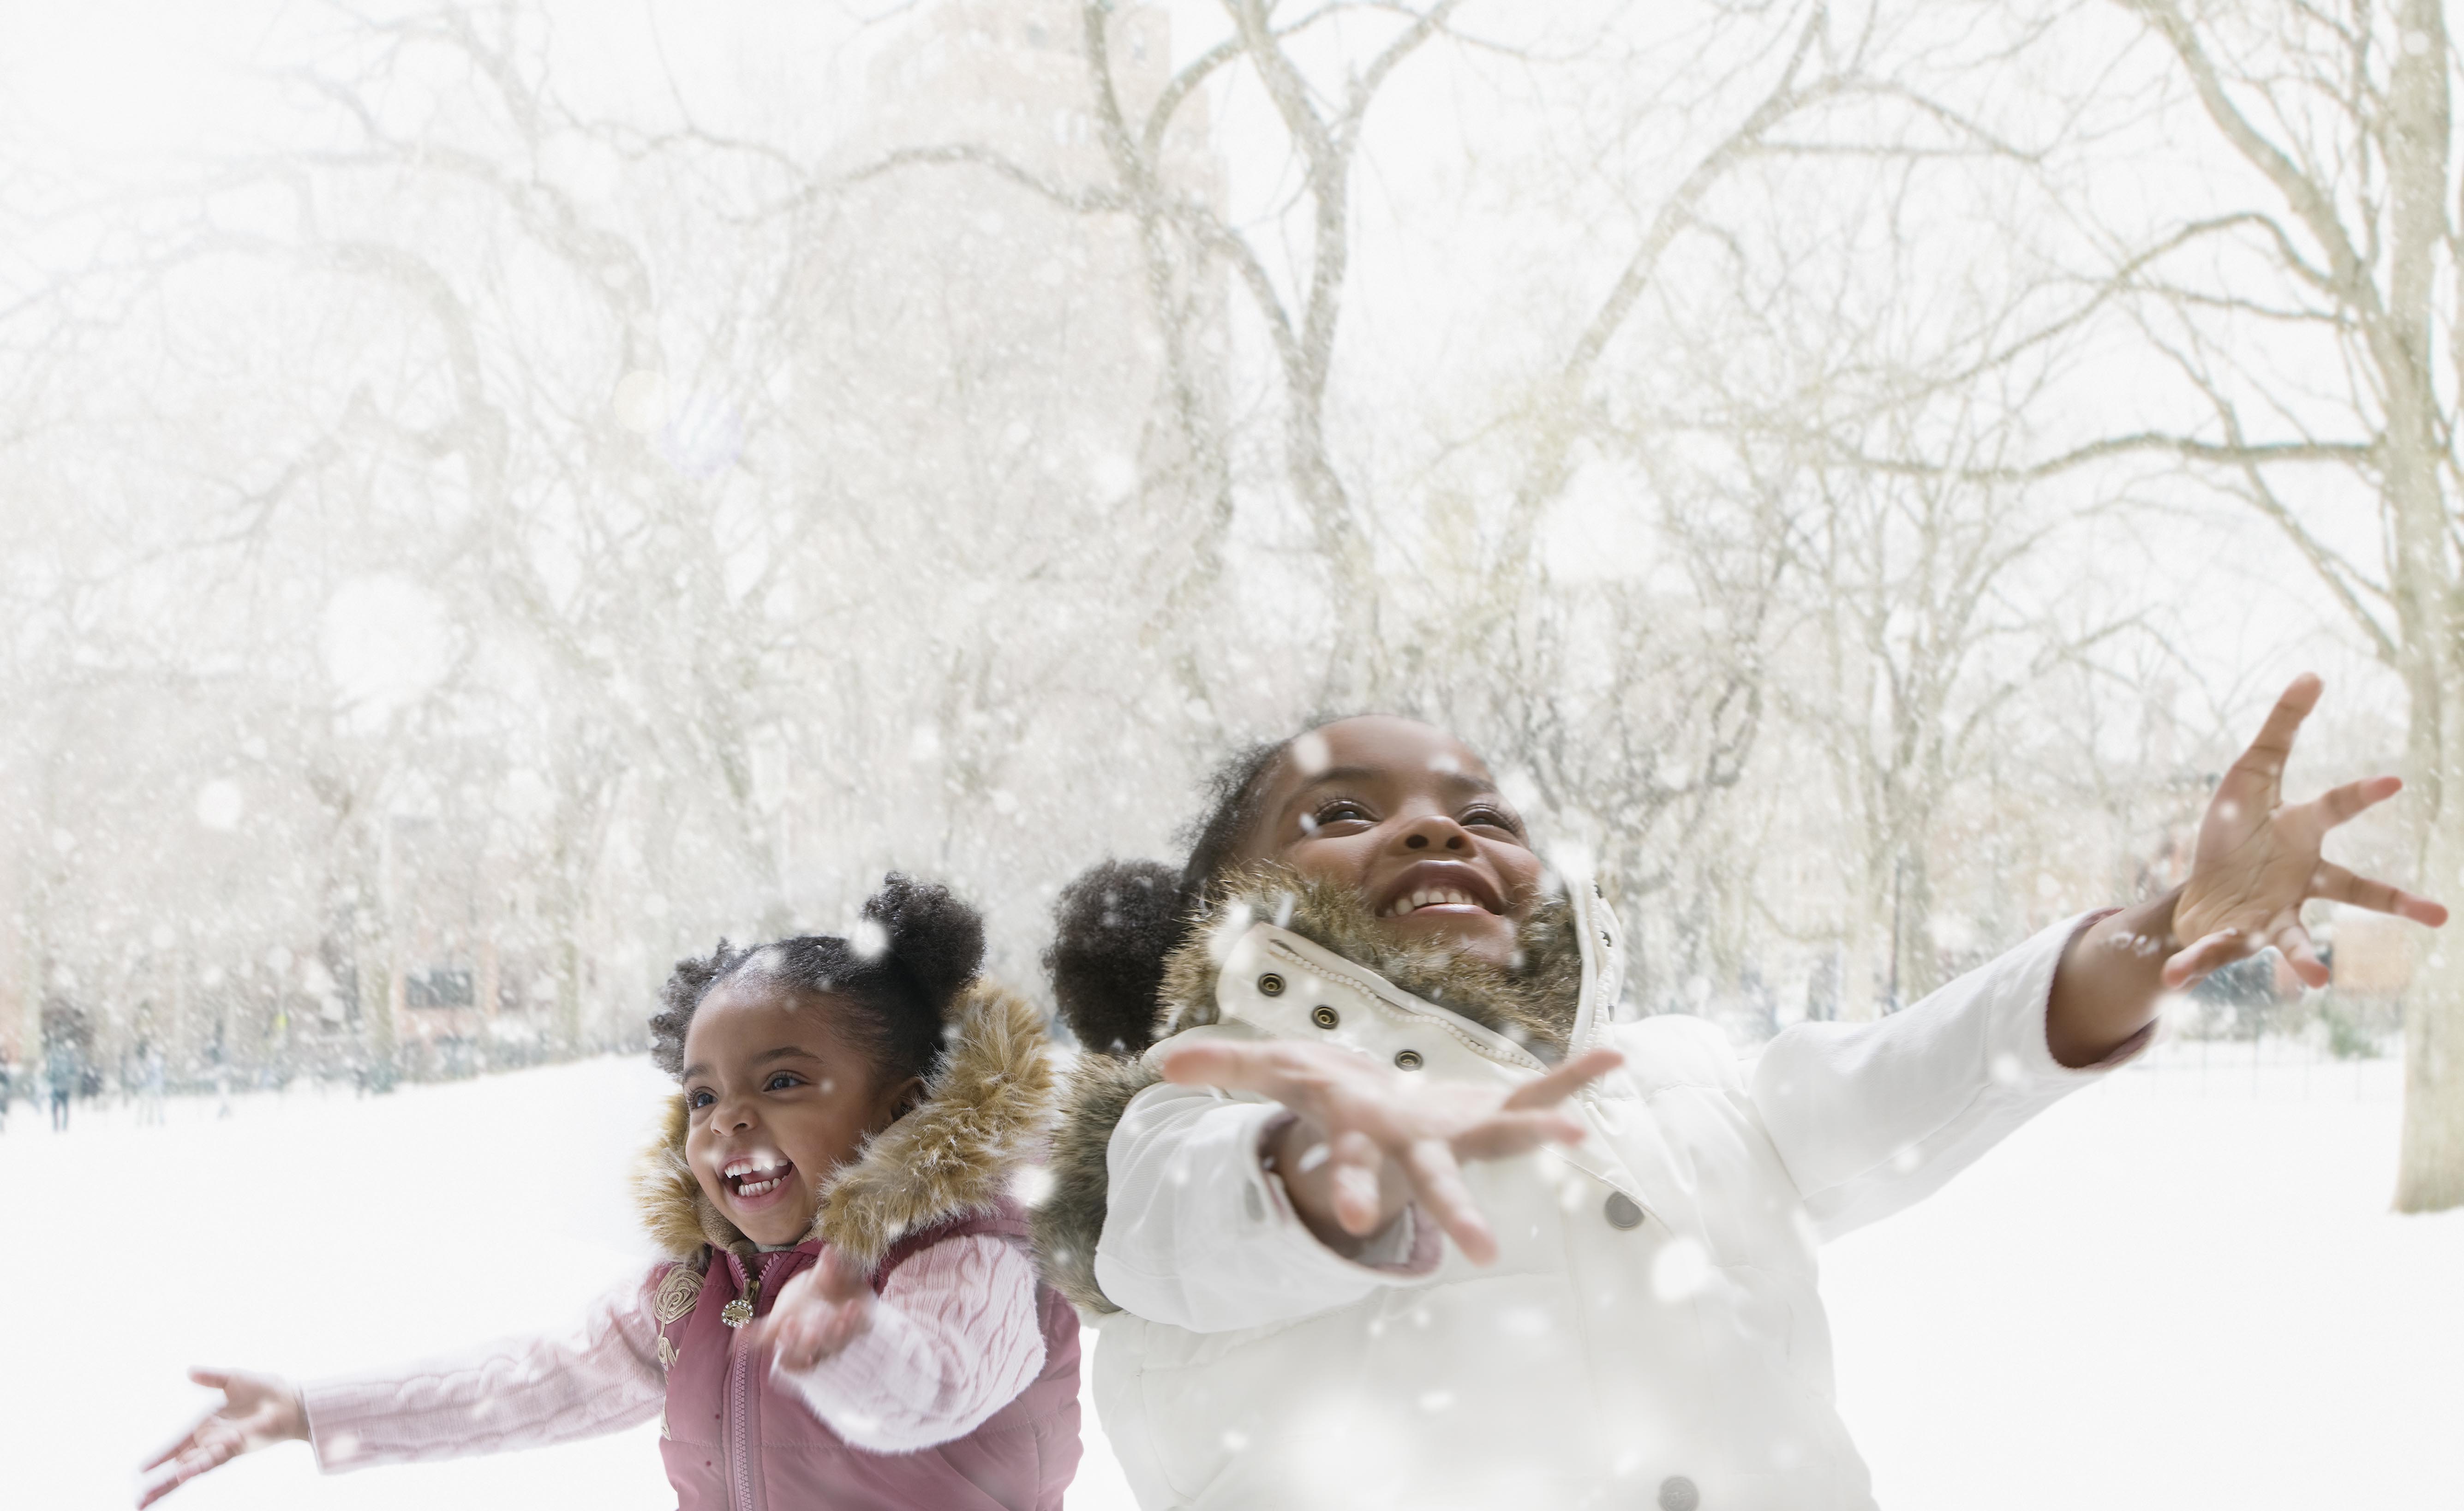
Falling snow enhances any winter photograph, but capturing it presents a challenge. Snowfall is often unpredictable and can change in an instant. The forecast may predict big fluffy flakes drifting on the wind, but you may encounter fast flurries blowing sideways instead. Capture a magical, dynamic winter scene by photographing in Shutter Priority (Tv) mode, which lets you control how snowfall appears in your photos. Depending on the snow conditions, using a slow shutter speed (1/15 sec.) can blur a blizzard or eliminate slow-falling snowflakes. Choosing a fast shutter speed (1/250 sec.) will freeze snowflakes in mid-air. For outdoor photo shoots, try the RF-S 55-210mm F5-7.1 IS STM telephoto lens.
2. Get the proper exposure
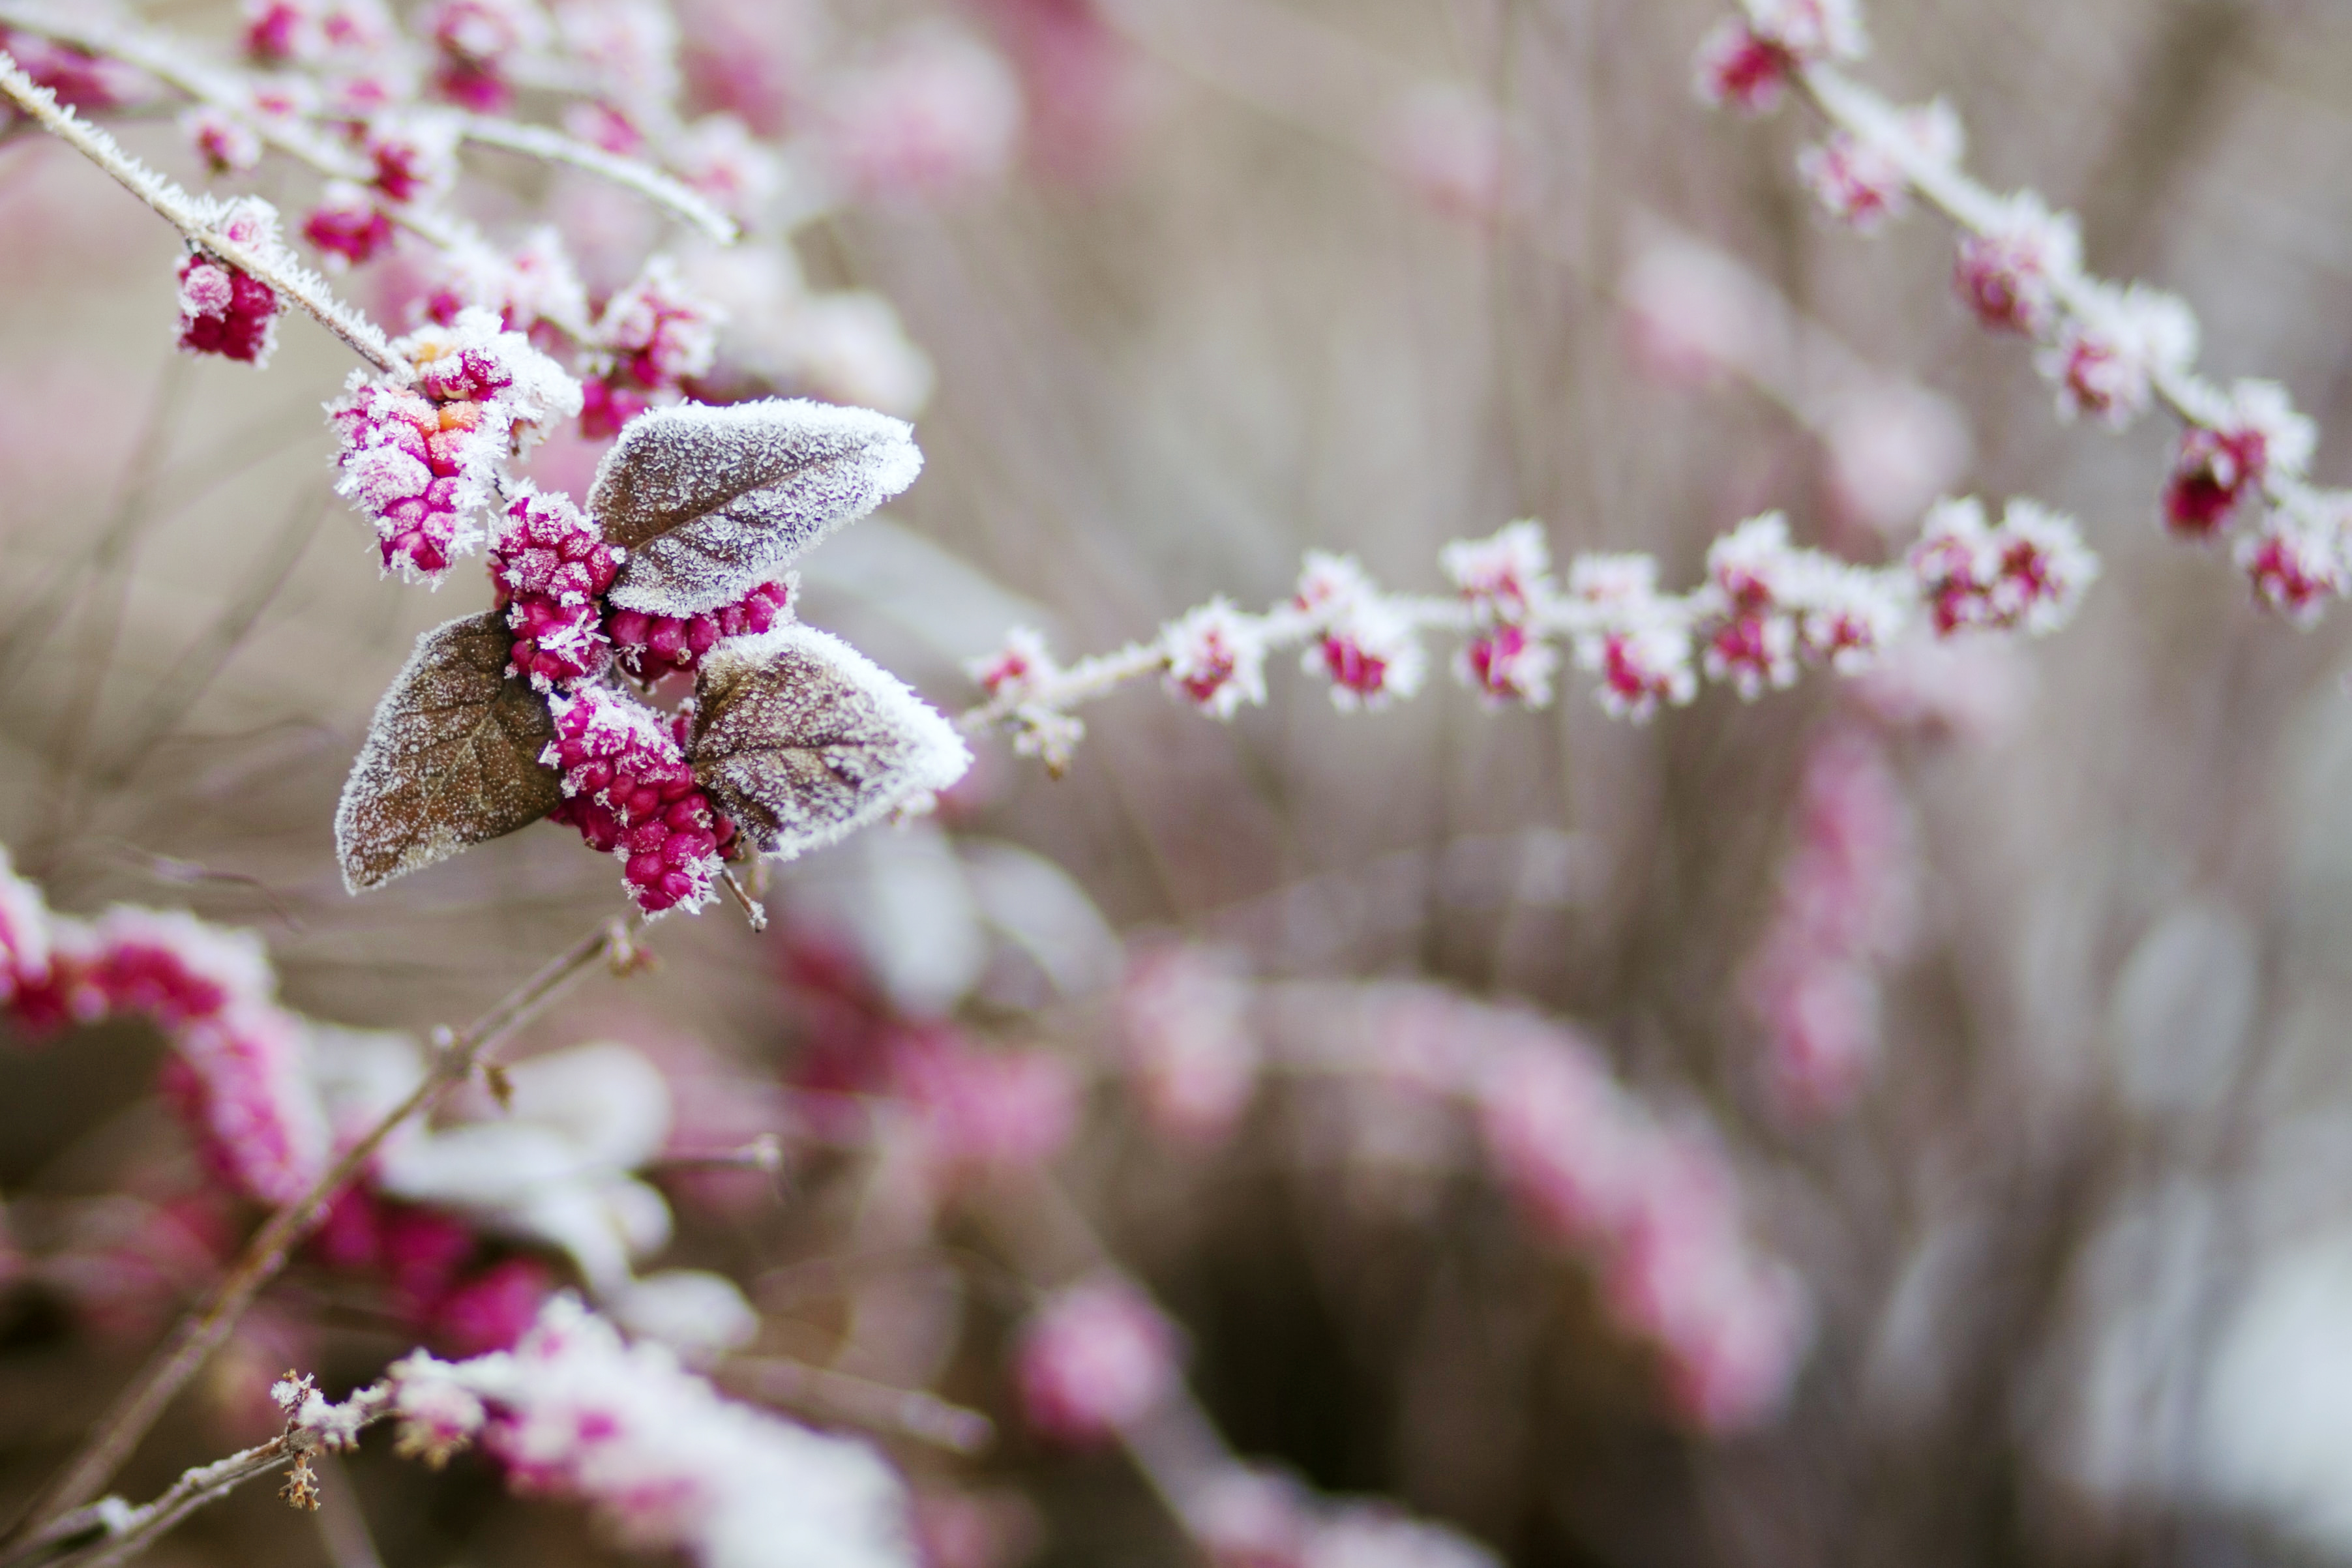
Fresh snow can often trick the camera sensor into underexposing a scene, which can easily be adjusted in photo editing software. But if you want to get the right exposure in-camera, experiment with exposure compensation settings by accessing P, Tv and Av modes. Adding +1 or +2 exposure compensation brings more light into your scene, preventing underexposure and keeping the snow white without washing out your photo.
Save some time out in the cold by shooting with Auto Exposure Bracketing (AEB), available on cameras like the EOS R100. With AEB activated, you can take three consecutive shots in sequence of standard exposure, decreased exposure and increased exposure without manually adjusting the settings. Similar to AEB, the High Dynamic Range (HDR) setting captures three consecutive images in different exposures and automatically merges them into one JPG image.
3. Embrace the night
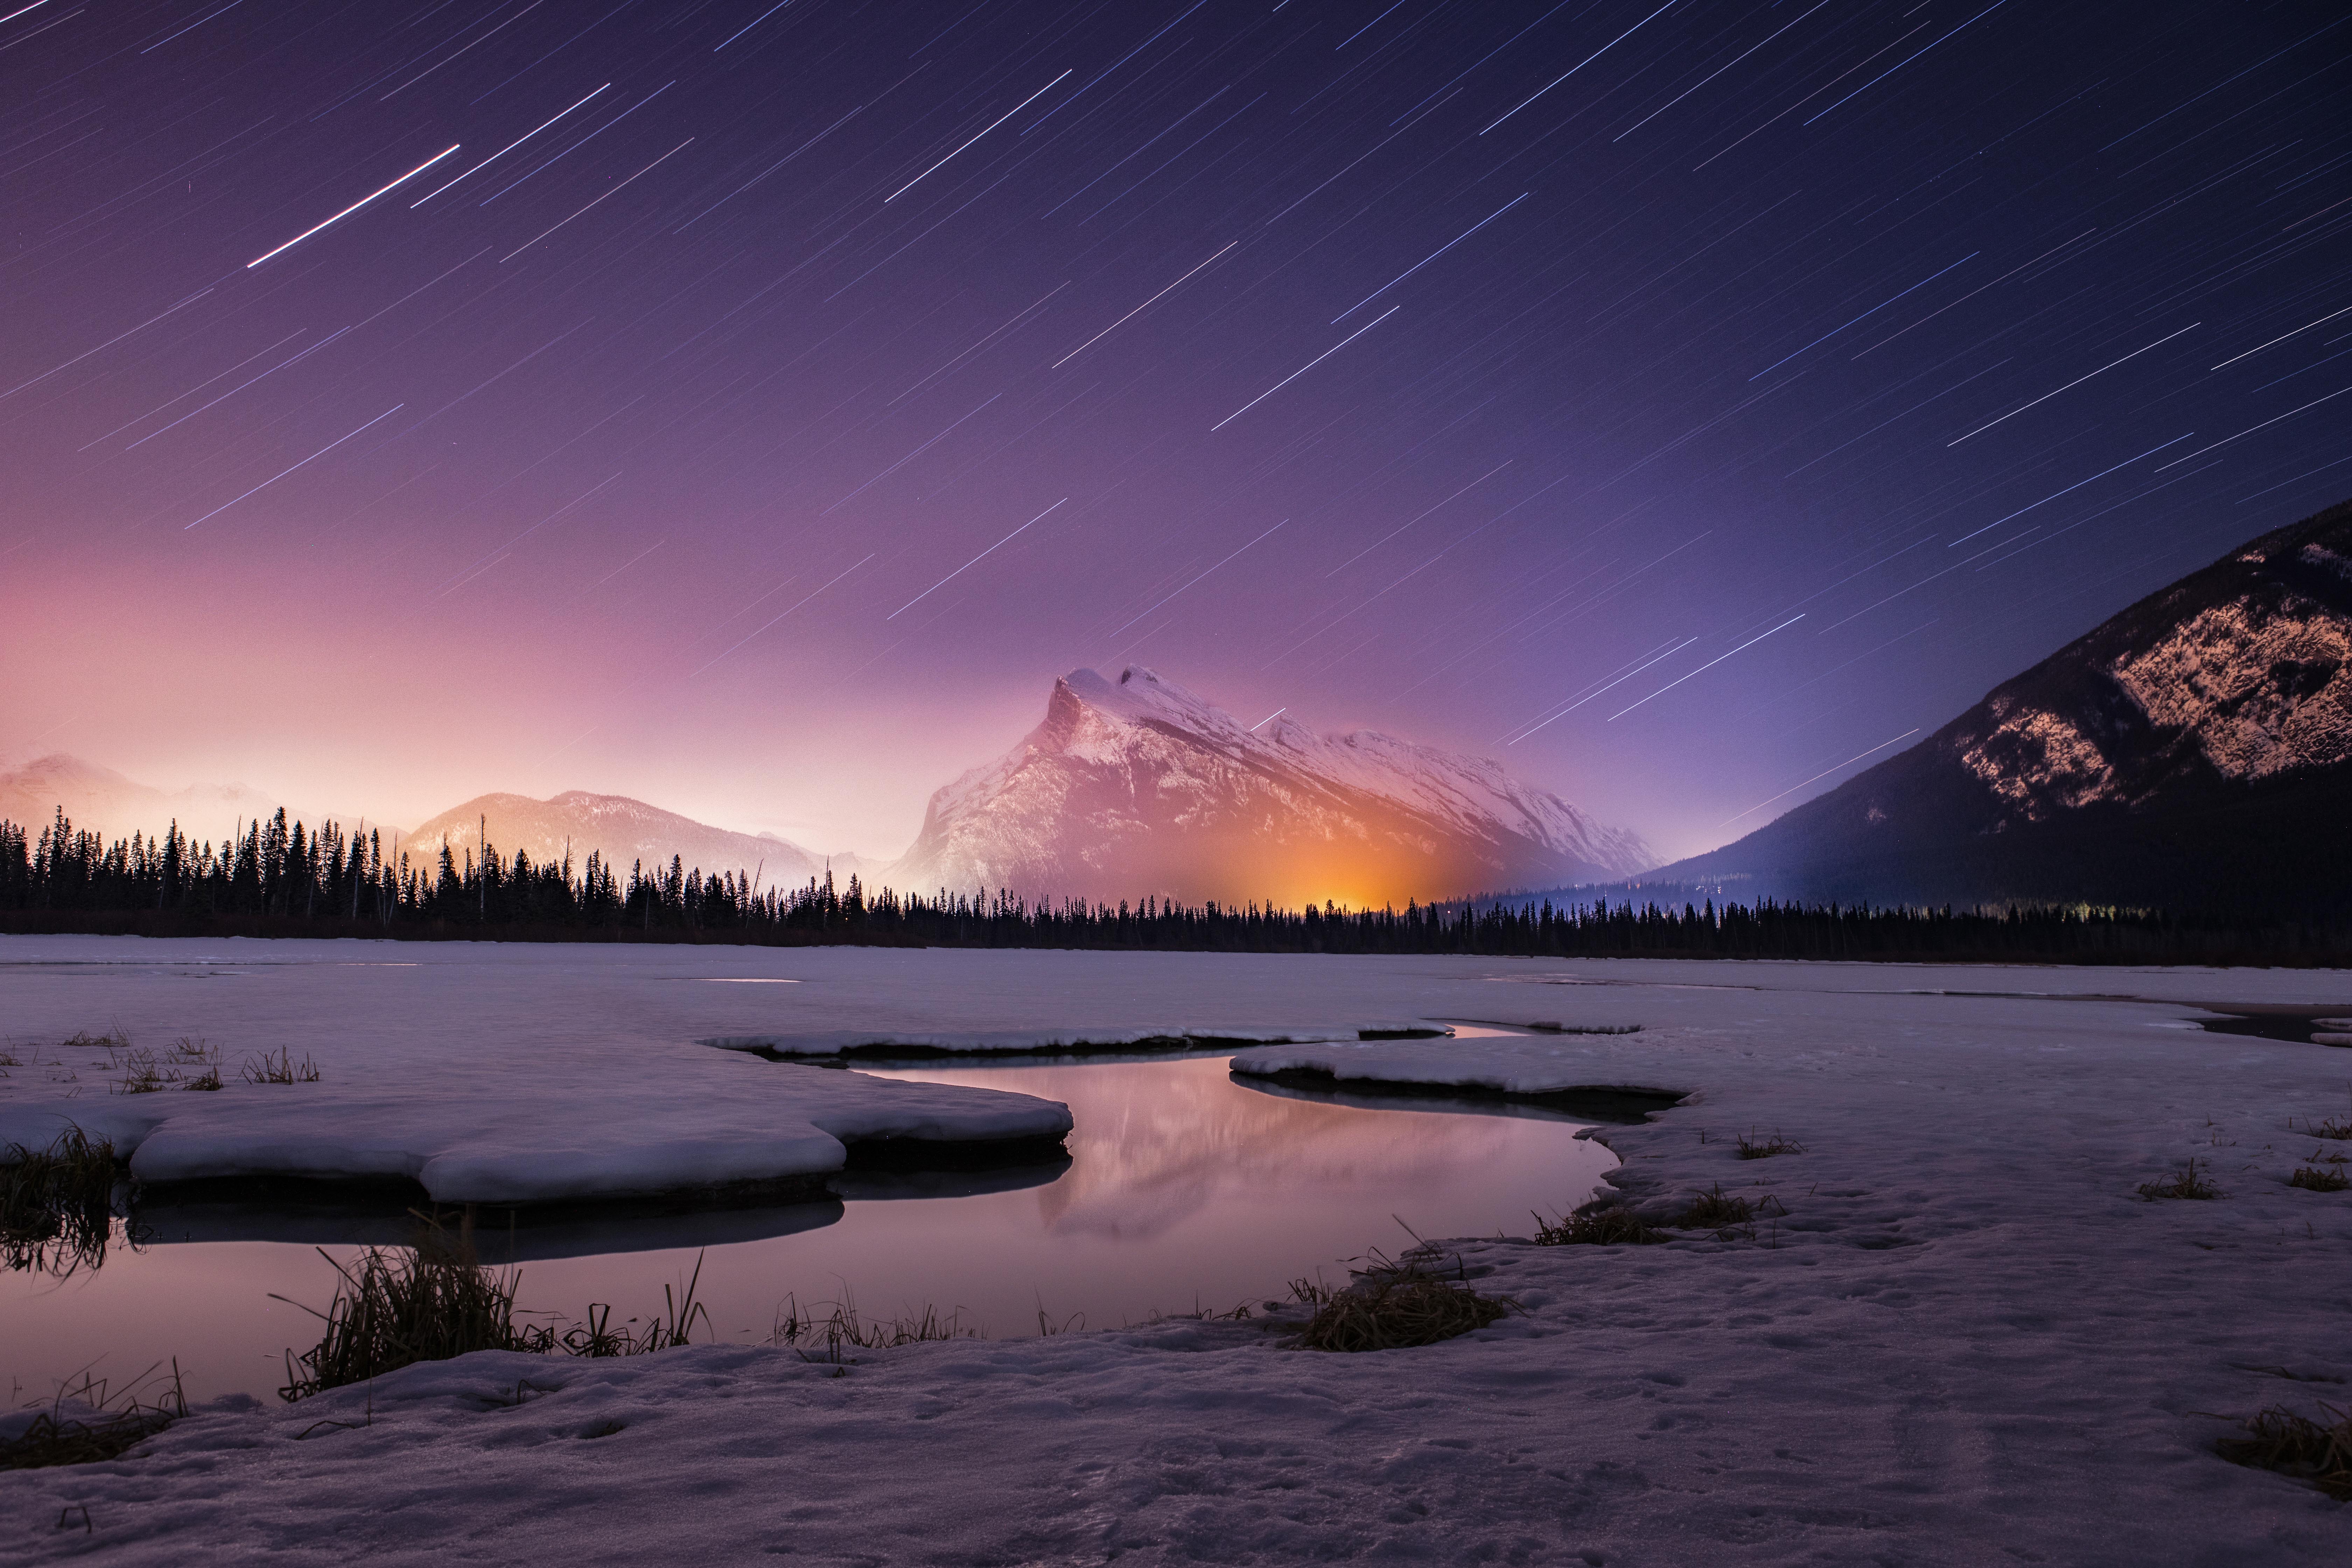
Nighttime snow scenes can be magical, especially in the city. Fresh snow on the ground reflects the ambient glow from streetlights, making it easier to take vibrant winter photos at night. With a full-frame DSLR or Mirrorless camera like the EOS R8, you can take high-quality photos using available light during the night and low-light conditions without the use of flash. The camera’s extended ISO range increases light sensitivity and reduces the appearance of camera shake blur, resulting in natural-looking photos. Winter nights are long, so you'll have lots of opportunities to capture evening activities such as outdoor ice skating, crackling bonfires, and dazzling light displays.
4. Freeze the action
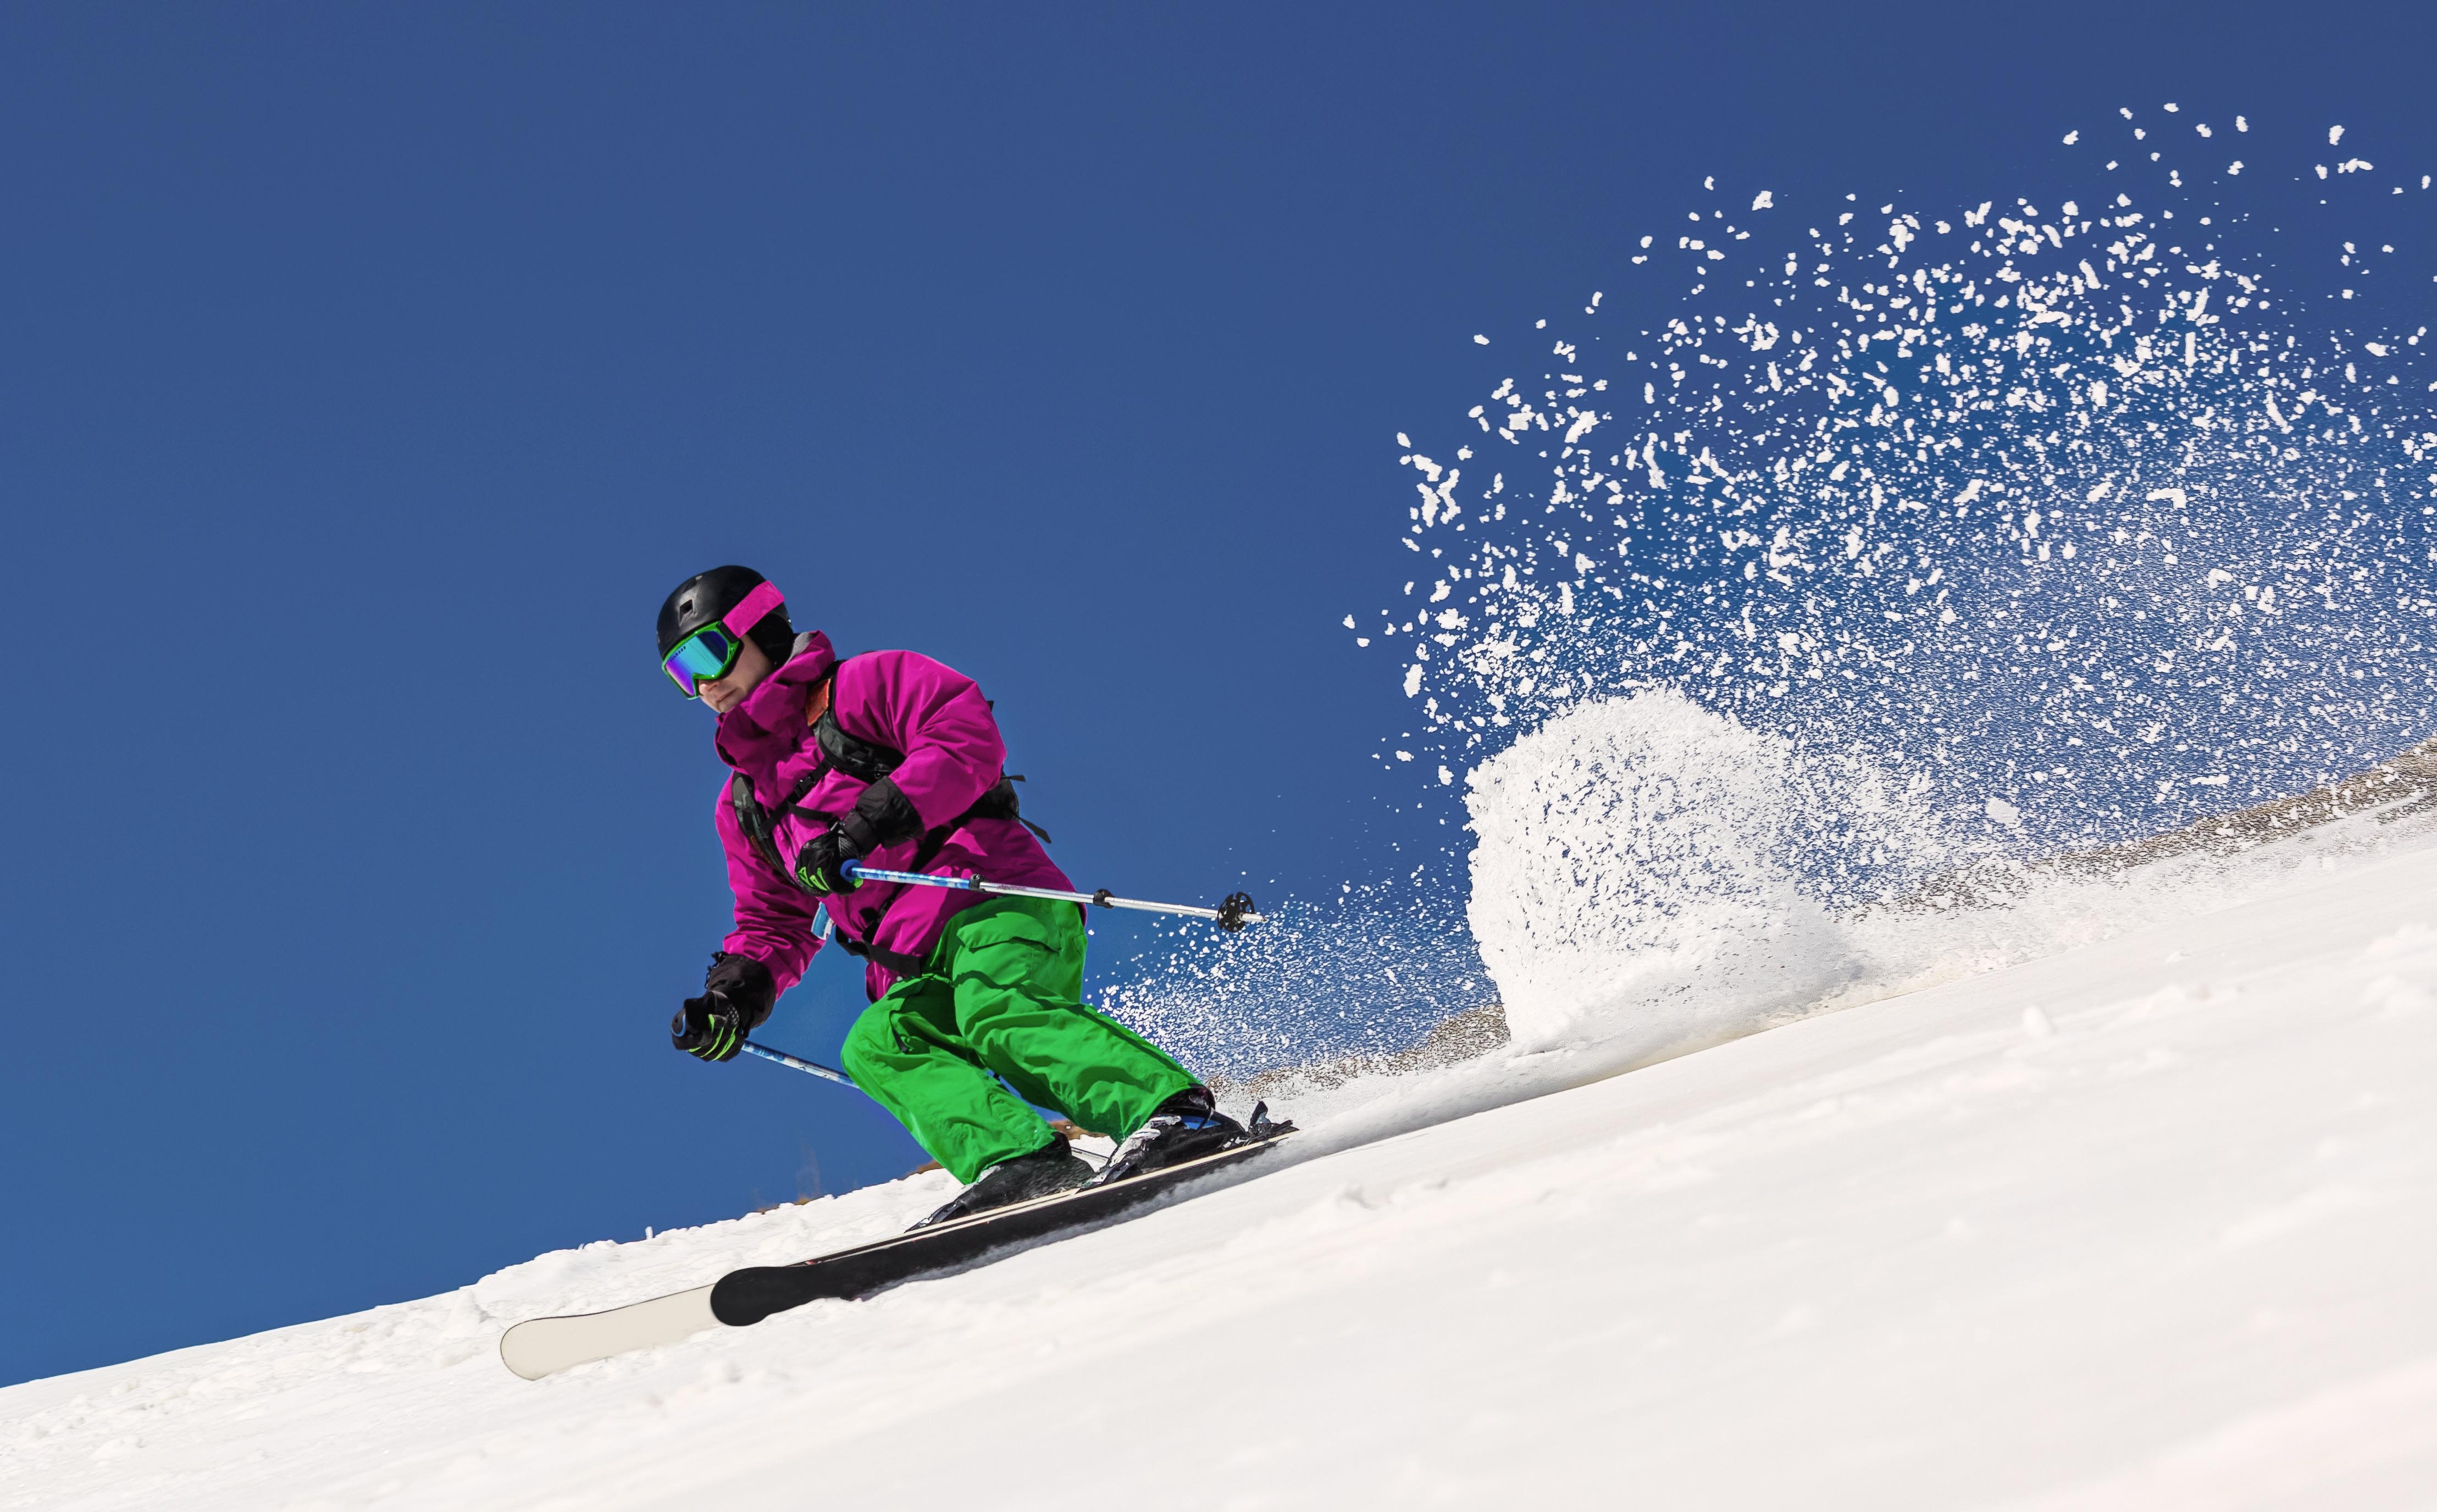
While some people are snuggled up with hot chocolate next to a crackling fire, others are bundled up and frolicking in the snow. From snow tubing to snowball fights, there are plenty of photo-worthy wintertime activities to capture. Use Sports mode to freeze-frame athletes in action or snowballs splattering onto someone's parka. With an image stabilized telephoto lens like the RF100-400mm F5.6-8 IS USM, you'll capture crisp shots of skiers swishing along fresh powder from yards away.
5. Protect your equipment
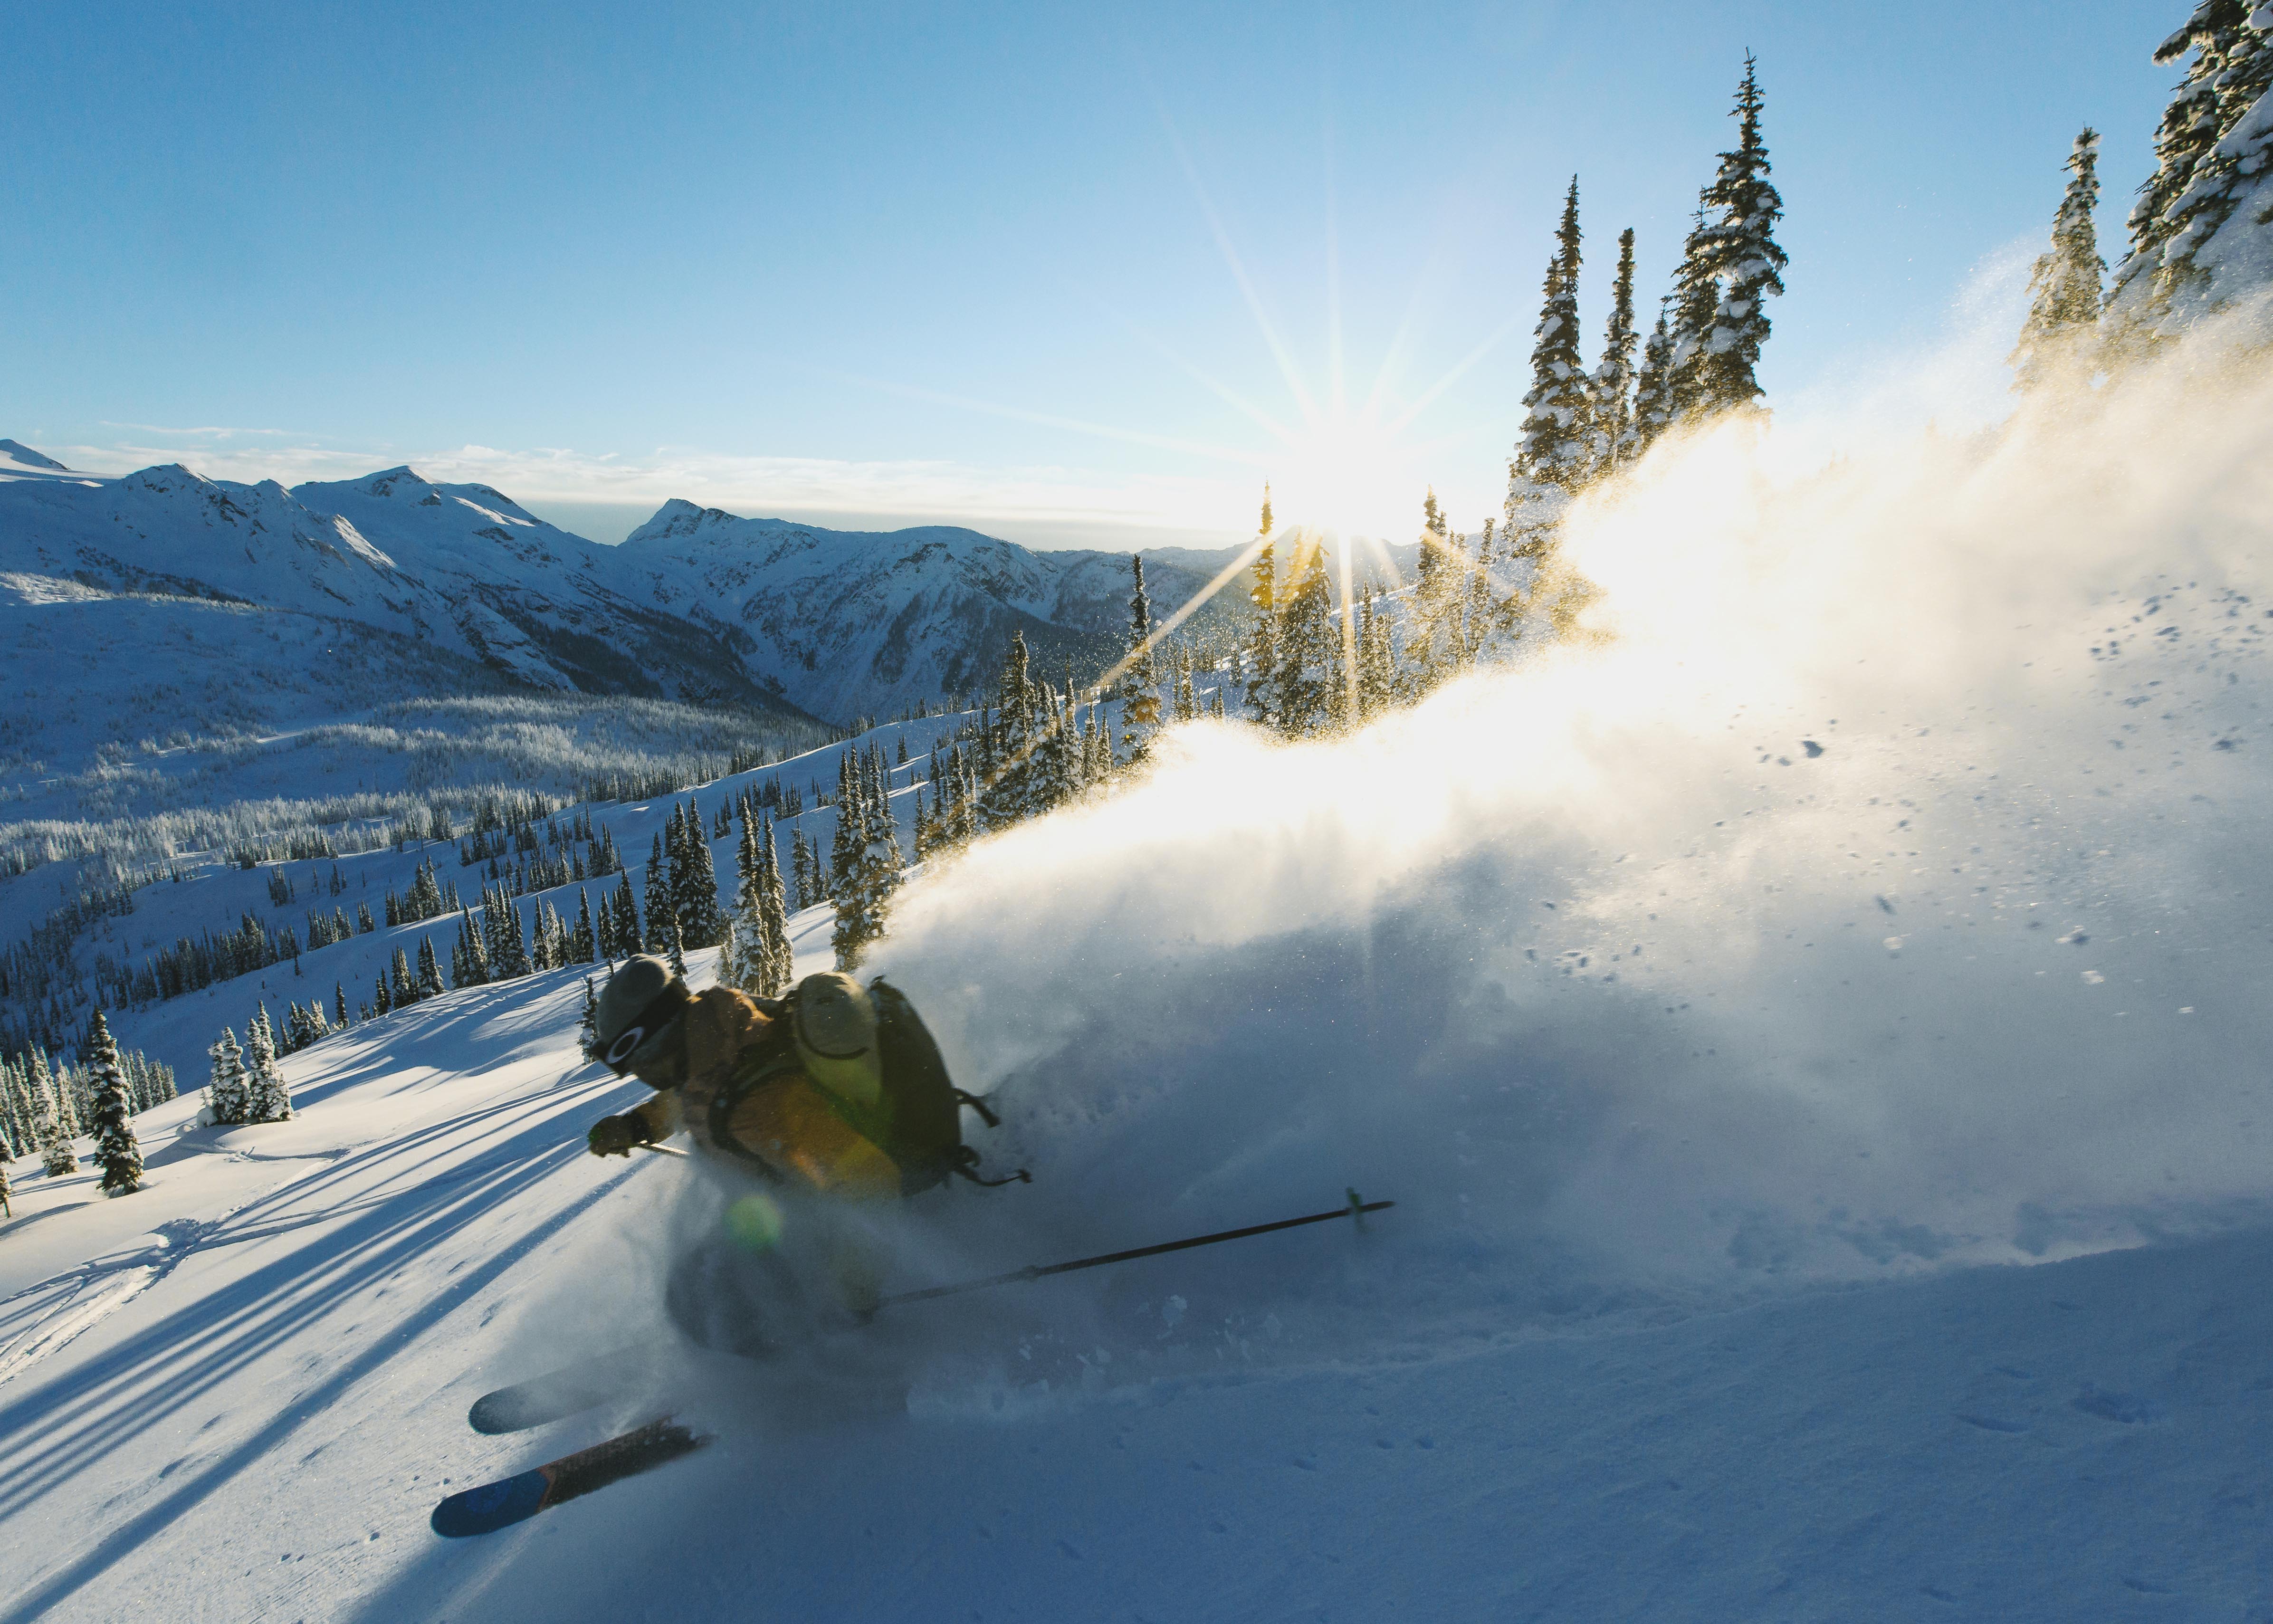
Winter scenery looks beautiful, but photographing outdoors in freezing temperatures for extended periods of time can affect your equipment. Camera batteries lose their power faster when exposed to low temperatures, significantly reducing the number of shots you can get. For long outdoor shooting sessions, keep a spare battery warm in an inner pocket of your winter coat. Your body heat will help preserve its charge.
A rain cover helps keep your camera and lens dry in snowy conditions. Even a weather-resistant camera like the EOS R7 should be guarded from condensation build-up when brought into a heated environment after being exposed to the cold. Before returning inside, place your camera in an airtight plastic freezer bag so it can warm up slowly.
6. Find the right white balance
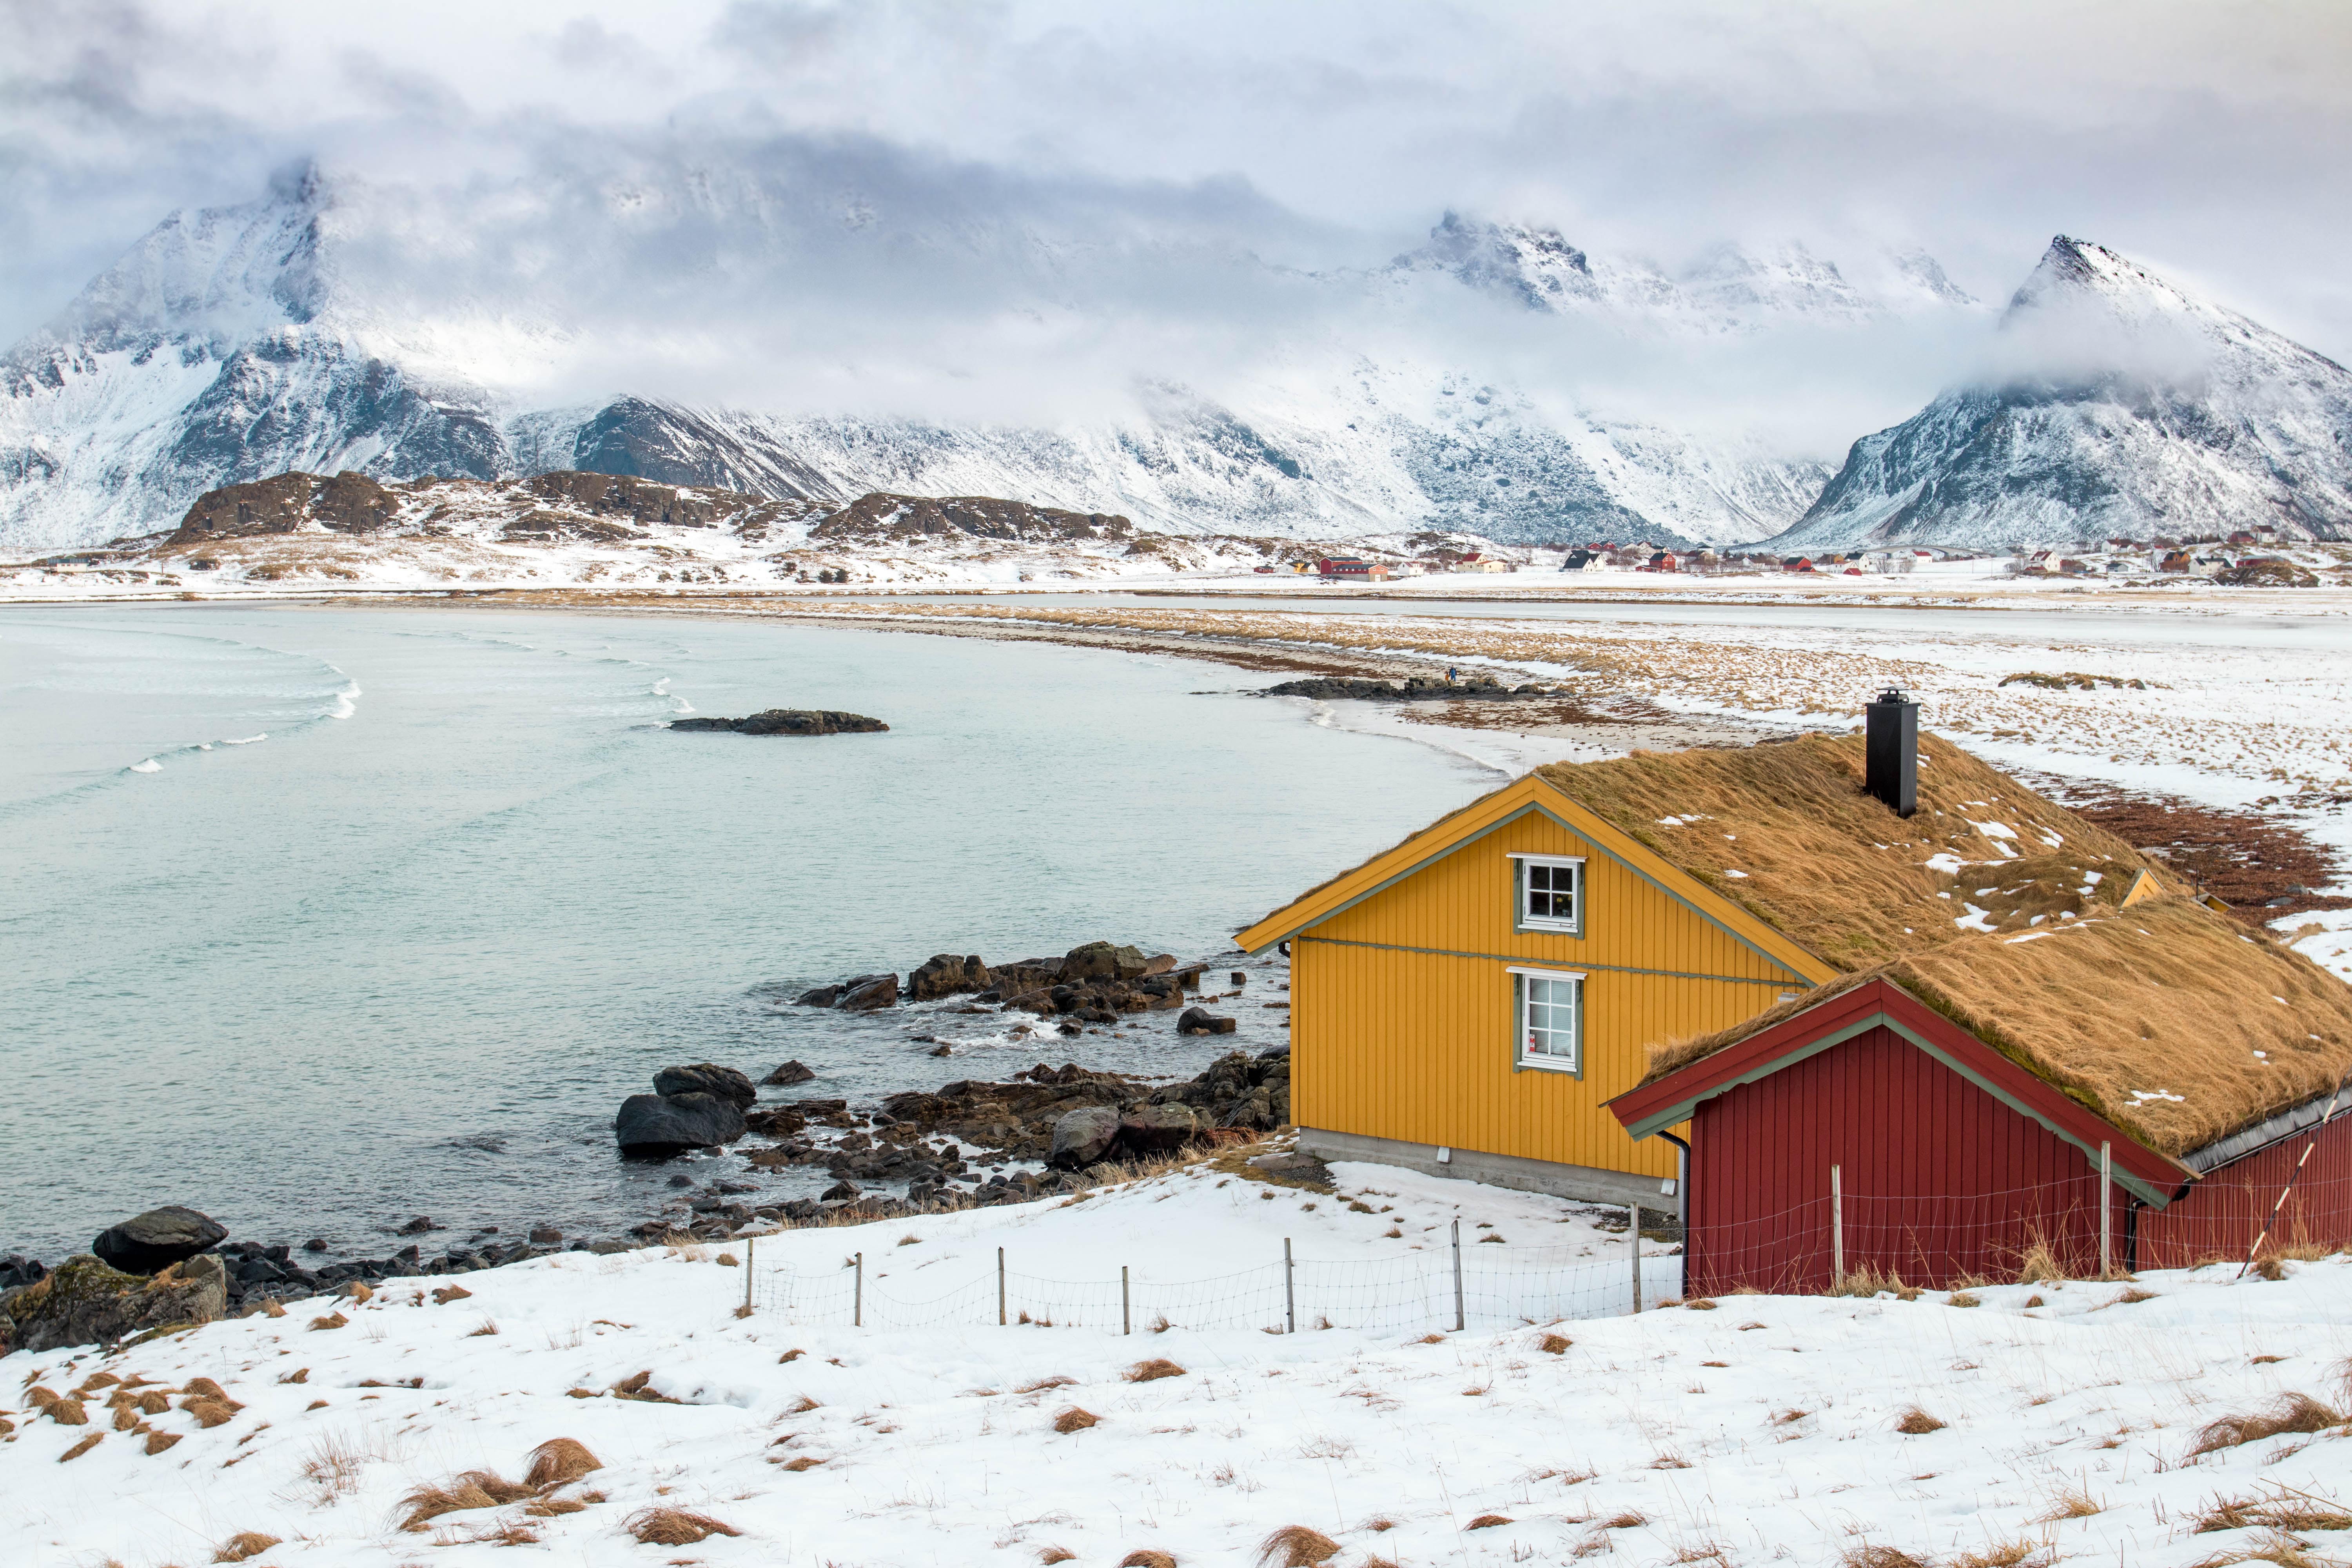
Auto White Balance (AWB) automatically detects and adjusts the colour tint of a scene to capture the most accurate image possible. Sparkling white snow set against clear blue skies can often appear blue in photos. If your snowy scenes are looking blue, switching your White Balance setting from AWB to Shade or Cloudy will neutralize the bluish tint with warmer tones. A well-balanced, natural-looking image will have a slight blue cast with neutral highlights.
Some other helpful tools to help improve your winter photography include a circular polarizing filter. This filter screws onto the end of your lens and helps reduce glare and reflections. It’s most effectively used at right angles to the light source. A simple turn of the filter will increase or decrease the effect. In most cases, this style of filter is used during daylight hours. Another great tool to have at the ready is an external flash, also known as a Speedlite. When photographing people in very sunny or high contrast scenes where the shadows are strong, simply turning on your flash will help fill in shadows on your subjects that are relatively close to the camera to improve the overall look of your photograph.
As snow falls and melts, winter scenes are always changing. You'll always find some activity, wildlife or natural landscape to capture and enjoy looking back on year-round.