Guide to Printing the Perfect Picture
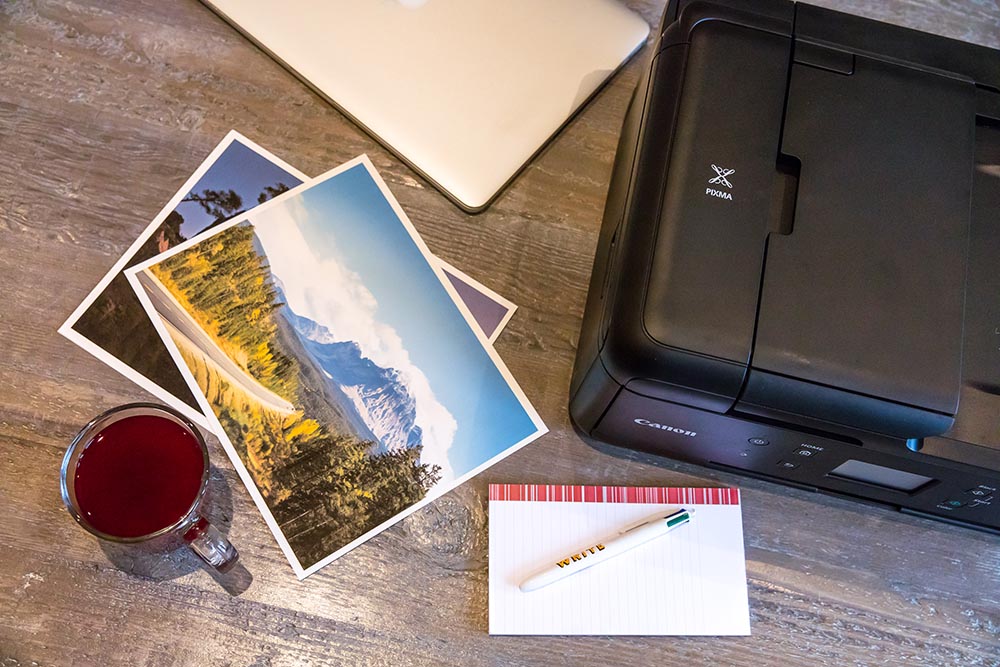
You know the moment all too well - you're about to capture that perfect sunset picture when your phone runs out of storage. Despite taking hundreds of pictures with digital cameras or smartphones, the average person nowadays only prints a small handful of the pictures they take. You might not even know how to print a great quality picture. Well now, thanks to your PIXMA printer, you can not only clear up the space on your phone, but create professional-quality photos to help you remember all of those iconic moments. It's a simple, easy process.
1. Choose The Right Paper
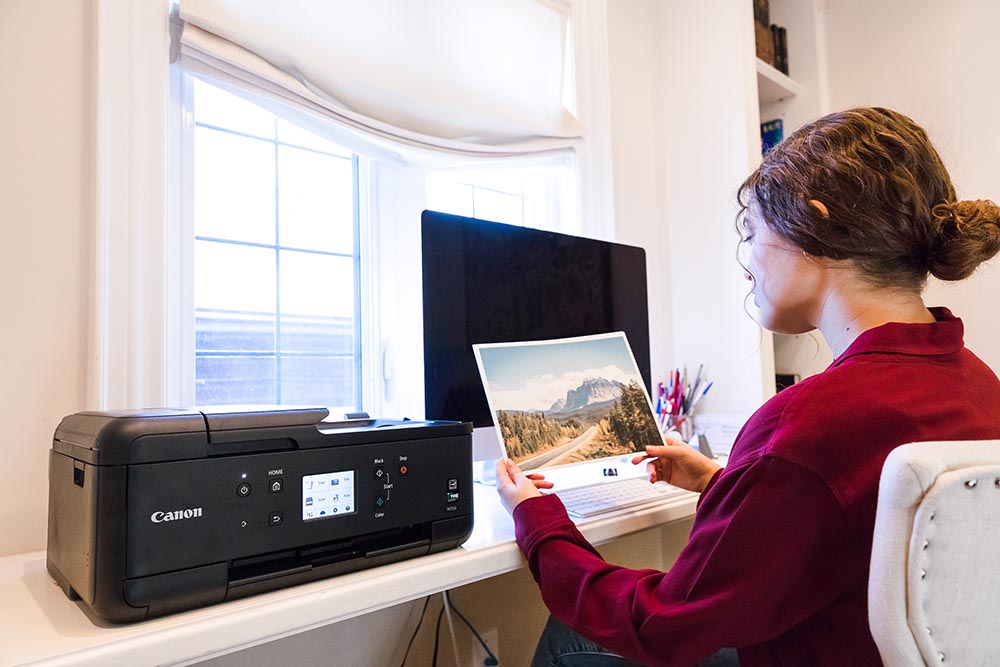
Photos printed on plain paper usually appear flat and lifeless, with subdued colours and wrinkling caused by ink over-saturation. The right kind of paper, however, makes all the difference. Gloss and semi-gloss papers make colours appear rich and are the ideal choice if you're not planning to frame them, but you might notice a bit of glare from both the paper as well as the glass in your frame. Matte photo paper eliminates the distracting reflections and also tends to present finer details and darker blacks - in other words, better contrast - than gloss paper. There's also the option of canvas and art papers, iron-on decals and stickers, all of which deliver similar contrast and colour as matte paper but with added texture.
2. Resolution Counts

Paper only goes so far, though. In order to get professional-quality prints, the image needs to have enough pixels for the print to look sharp. In general, it's best to aim for about 300 dots per inch (DPI) for quality prints. With most photo editing software, this is as easy as manually editing the image resolution. If you don't have the software, you can figure out the best size to print your picture by doing a little math. Just take the photo's dimensions - for example, 2000 by 3400 pixels - and divide each dimension by 300. The numbers you get will be the largest possible size you can print the image without losing quality. In this example, you'd get approximately 6 by 11, which means you can print the image as large as 5" x 7" (the closest standard photo size). Don't choose a size larger than your measurement or the image may look fuzzy or pixelated.
3. Know Your Settings
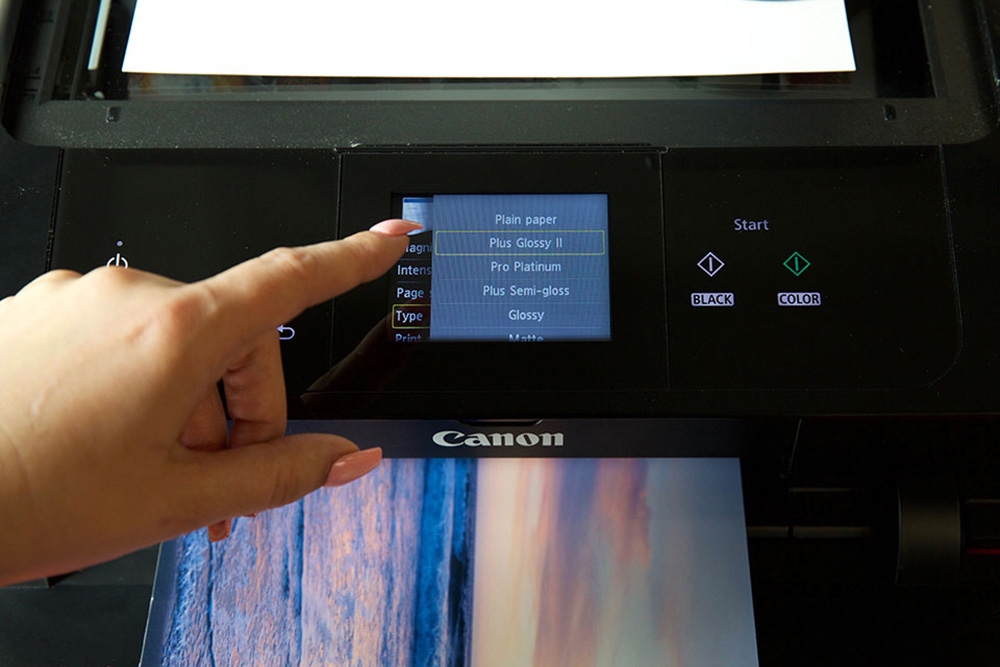
Your photographs will lack luster if you're printing them using the same configurations you use for black and white word processing documents and quick web page print-outs. That's why, once you address your photo paper and image resolution, verify that you're using the proper printer settings. Are you printing to the right paper tray? Is it printing on the appropriate side of the paper? Have you configured the right paper type and the correct ink cartridge in the print settings dialog? If you're not using the proper configurations, you run the risk of using the wrong type of paper or printing the photos in black and white, instead of outputting your prints with high resolution on glossy photo paper (or whatever type of paper you selected).
4. Get Creative
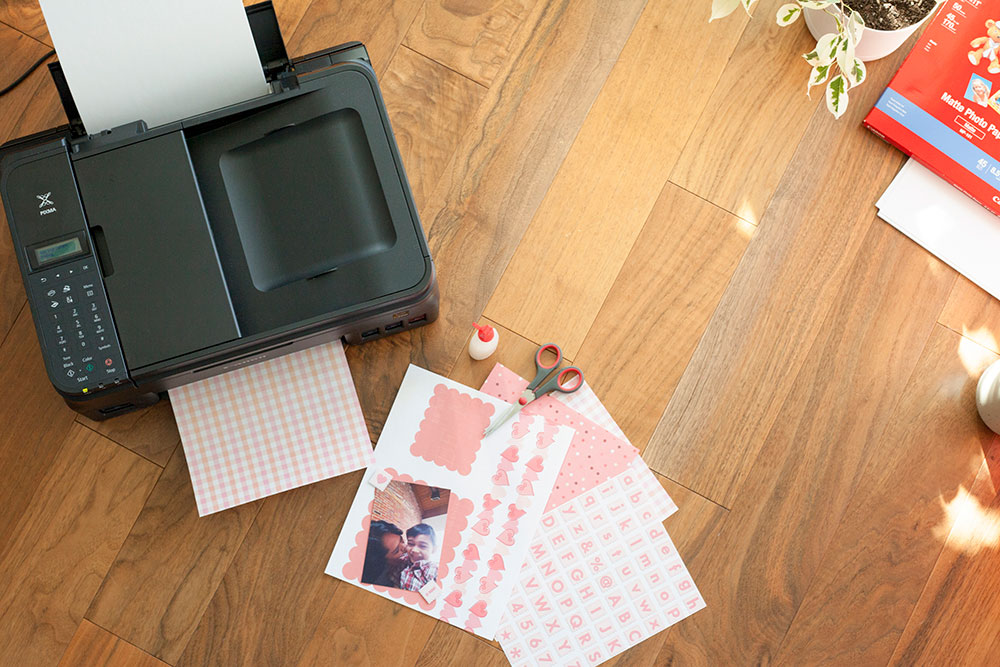
Now that you know how to make the most of your photo printing, why limit yourself to standard photo prints?
Related Products:
References:
Macworld: Choose the Best Photo Printing Paper
http://www.macworld.com/article/1150076/printers/printerpaper-basics.html
PC World: Five Tips for Better Photo Printing
http://www.pcworld.com/article/182266/digital_focus_photo_printers.html


