Step 1: Update to Latest Firmware
- From homescreen 1, press on right arrow to get to homescreen 2 and press Update Firmware icon
- Install firmware update (if applicable)
- You will see a notification confirming that your firmware version is latest available
- If firmware update is needed, turn off printer once completed
- Turn printer on by pressing Power Button
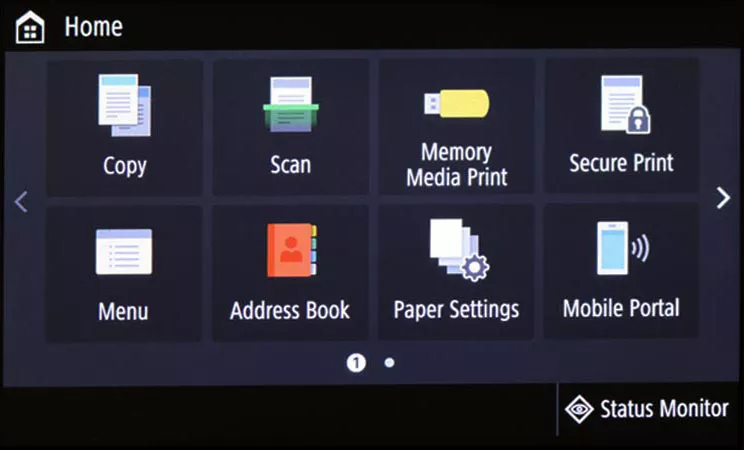
Homescreen 1
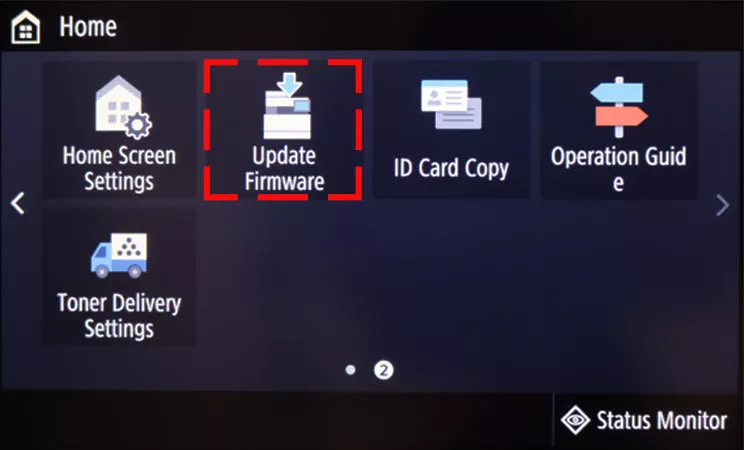
Homescreen 2
* Placement or actual screen may vary
Note: This step is necessary for online enrollment
Step 2: How to Retrieve Serial Number, Check Digits / Verification code
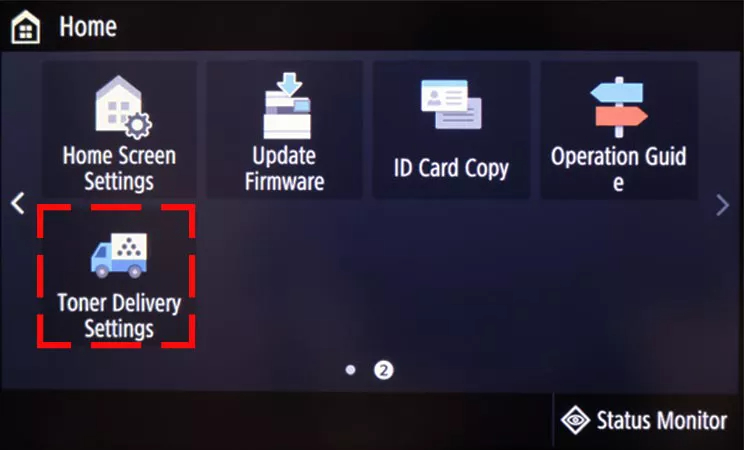
- From homescreen 1, press on right arrow to get to homescreen 4 and press the Toner Delivery Settings icon.
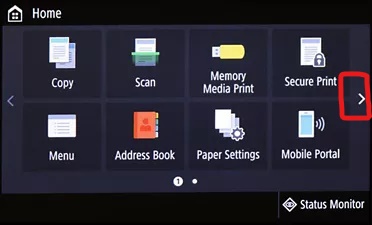
Homescreen 1
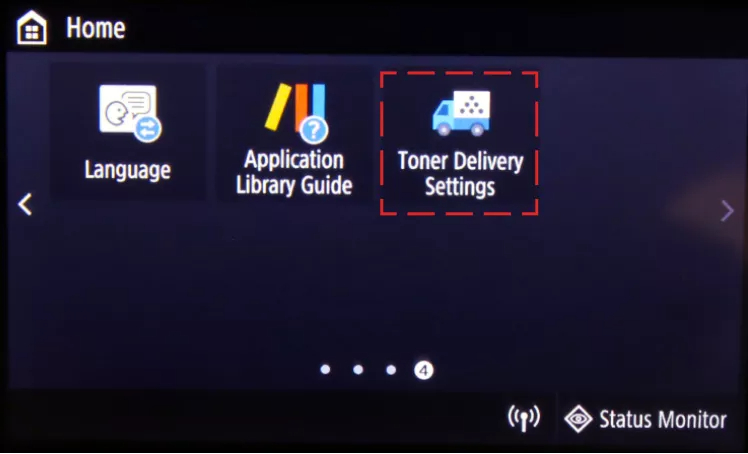
Homescreen 4
- Press Toner Delivery Settings
- Press Toner Delivery Settings
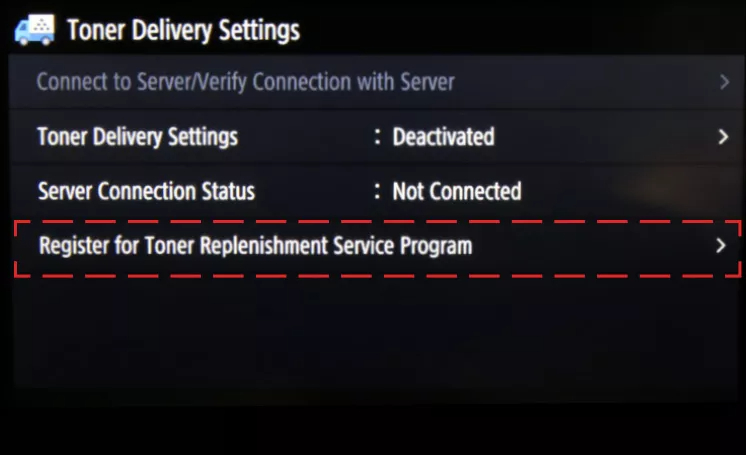
- Press on Register for Toner Replenishment Service Program
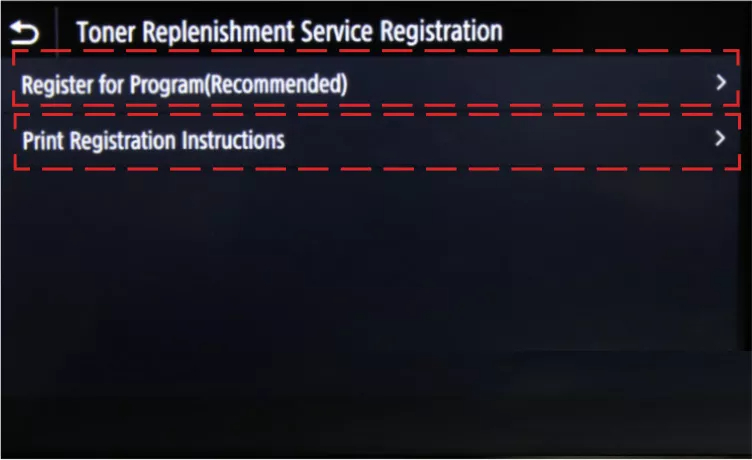
- Press Register for Program (Recommended) for QR Code, Serial Number and Checksum/Check Digits/Verification Code
- Press Print Registration Instructions to print Serial Number, Checksum/Check Digits/Verification Code and instructions
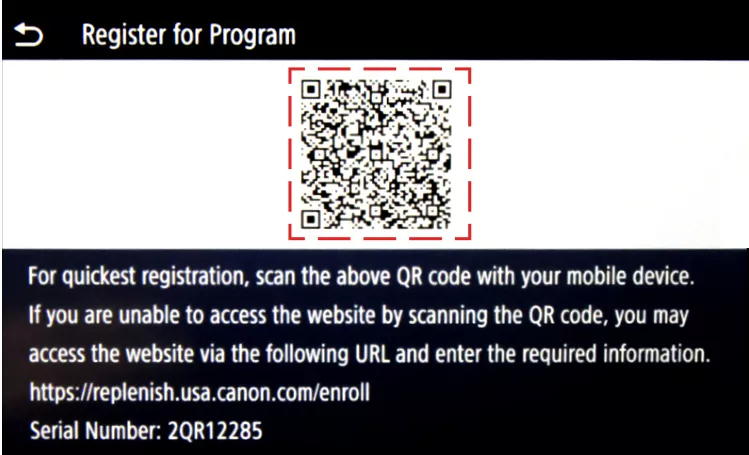
- Scan QR Code with mobile device to begin enrollment

- Swipe up to manually enter Serial Number and Checksum/Check Digits/Verification Code
Step 3: Activate Auto Replenishment Service
Follow on-screen instructions, if prompted. If a prompt does not appear, follow instructions below.
- Press Toner Delivery Settings icon
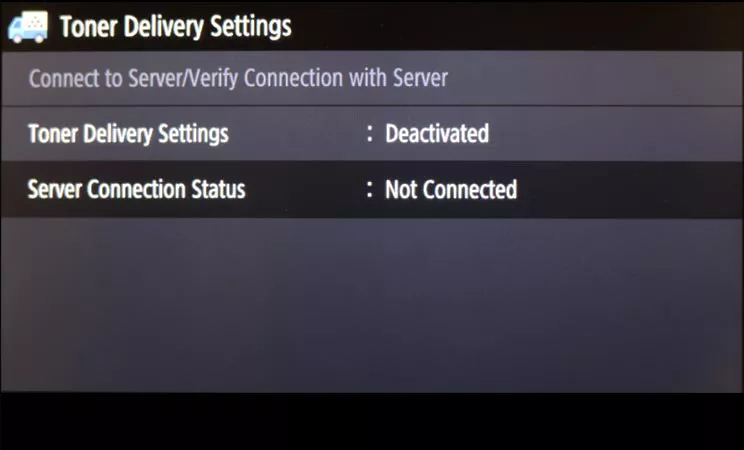
- Press Toner Delivery Settings: Deactivated
Homescreen 1
Homescreen 2
* Placement or actual screen may vary
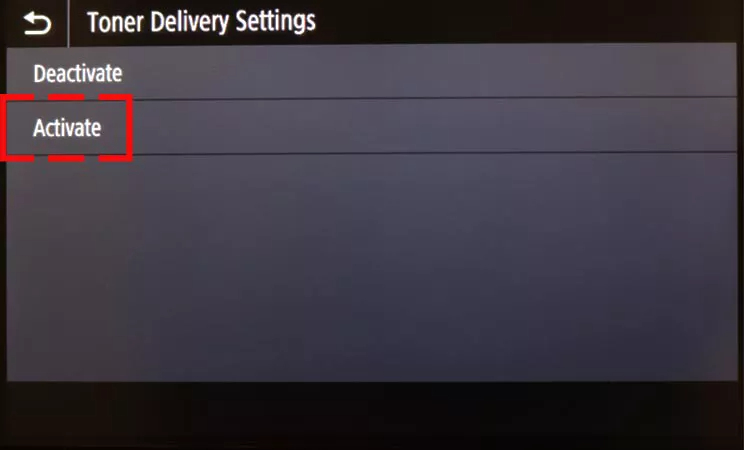
- Press Activate to begin setup
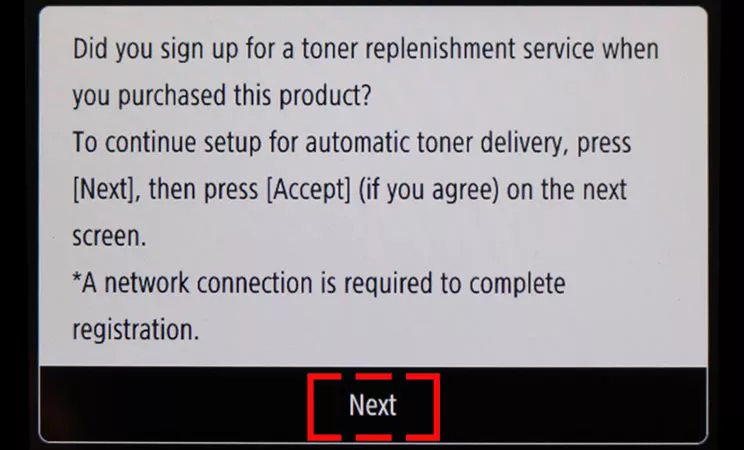
- Press Next after reading first validation step
Step 4: Final Validation Steps
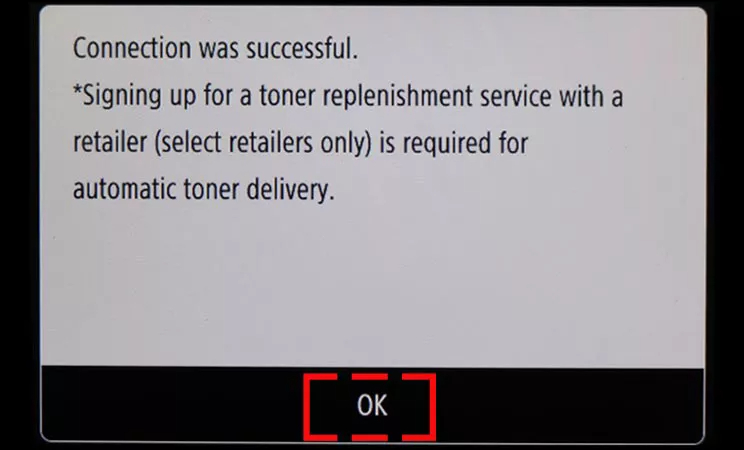
Next, you should see the validation screen below
- Press OK
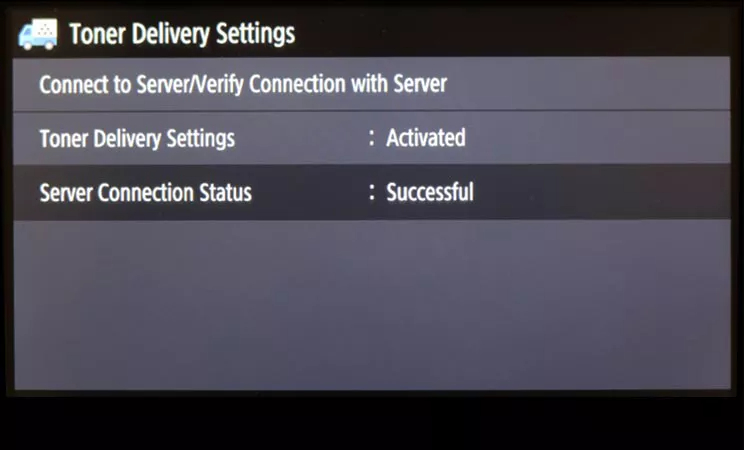
- Check server connection status. You should see the following Server Connection Status: Successful screen.
If an error message occurs, follow on-screen instructions